Showing posts with label crockpot. Show all posts

Monday, November 19, 2012

Lazy Man Cabbage Rolls

 
Since I blanched and froze quite a bit chopped cabbage (I had trouble with the heads splitting this summer), I decided to make some Lazy Man Cabbage Rolls.  You can make this recipe in your crockpot but I left mine in the trailer with Barry so I made them in the oven.  I had never used frozen cabbage for this and was interested to see how they would turn out. 
 
I brought the cabbage out several days early and thawed it in a container in the fridge.  You need to drain the cabbage before you can use it.
 
 
I mix together about 1 - 1 1/2 pounds of hamburger and 1 - 1 1/2 cups rice.  I add salt and pepper to this.  You could also add chopped onion if you wish. 

 
I then mix in a quart sealer of canned tomatoes.  I break the tomatoes up so the chunks are small. 

 
Put half the cabbage in the bottom of a roaster or casserole dish.  I almost always use a roaster so I have less chance of my casseroles boiling over. 

 
Place hamburger - rice mixture onto cabbage. 

 
Sprinkle on the rest of the cabbage. 

 
Mix a can of tomato soup with 3/4 can of water and pour it on top

 
Cook at 350°F for about 1 hour.  You can eat it as is or you can serve it with some sour cream.   


 I was very pleased with the taste and texture of the cabbage.  I would be hard pressed to tell the difference in taste between fresh and frozen. 


Thursday, May 24, 2012

Cabbage Rolls

Cabbage rolls can be finicky to make.  Instead of making them each time we want to eat some, I make up a bunch at once and freeze them.  Then it is easy to have cabbage rolls whenever the mood strikes you.

I prepare the cabbage in the fall when I have a crop ready.  First you pick nice firm heads, remove the outer damaged leaves, cut out the core and wash.  I blanch the whole head and then immerse it in icy cold water.  Drain well before freezing until needed.


When I am making cabbage rolls, I usually bring out a number of heads at once.  Thaw completely and drain.


I find this works best for having pliable leaves.  I've tried freshly blanched leaves but they are easier to tear and not as nice to work with.  The freezing process seems to do something to the cabbage so the leaves are bendable and not too fragile.


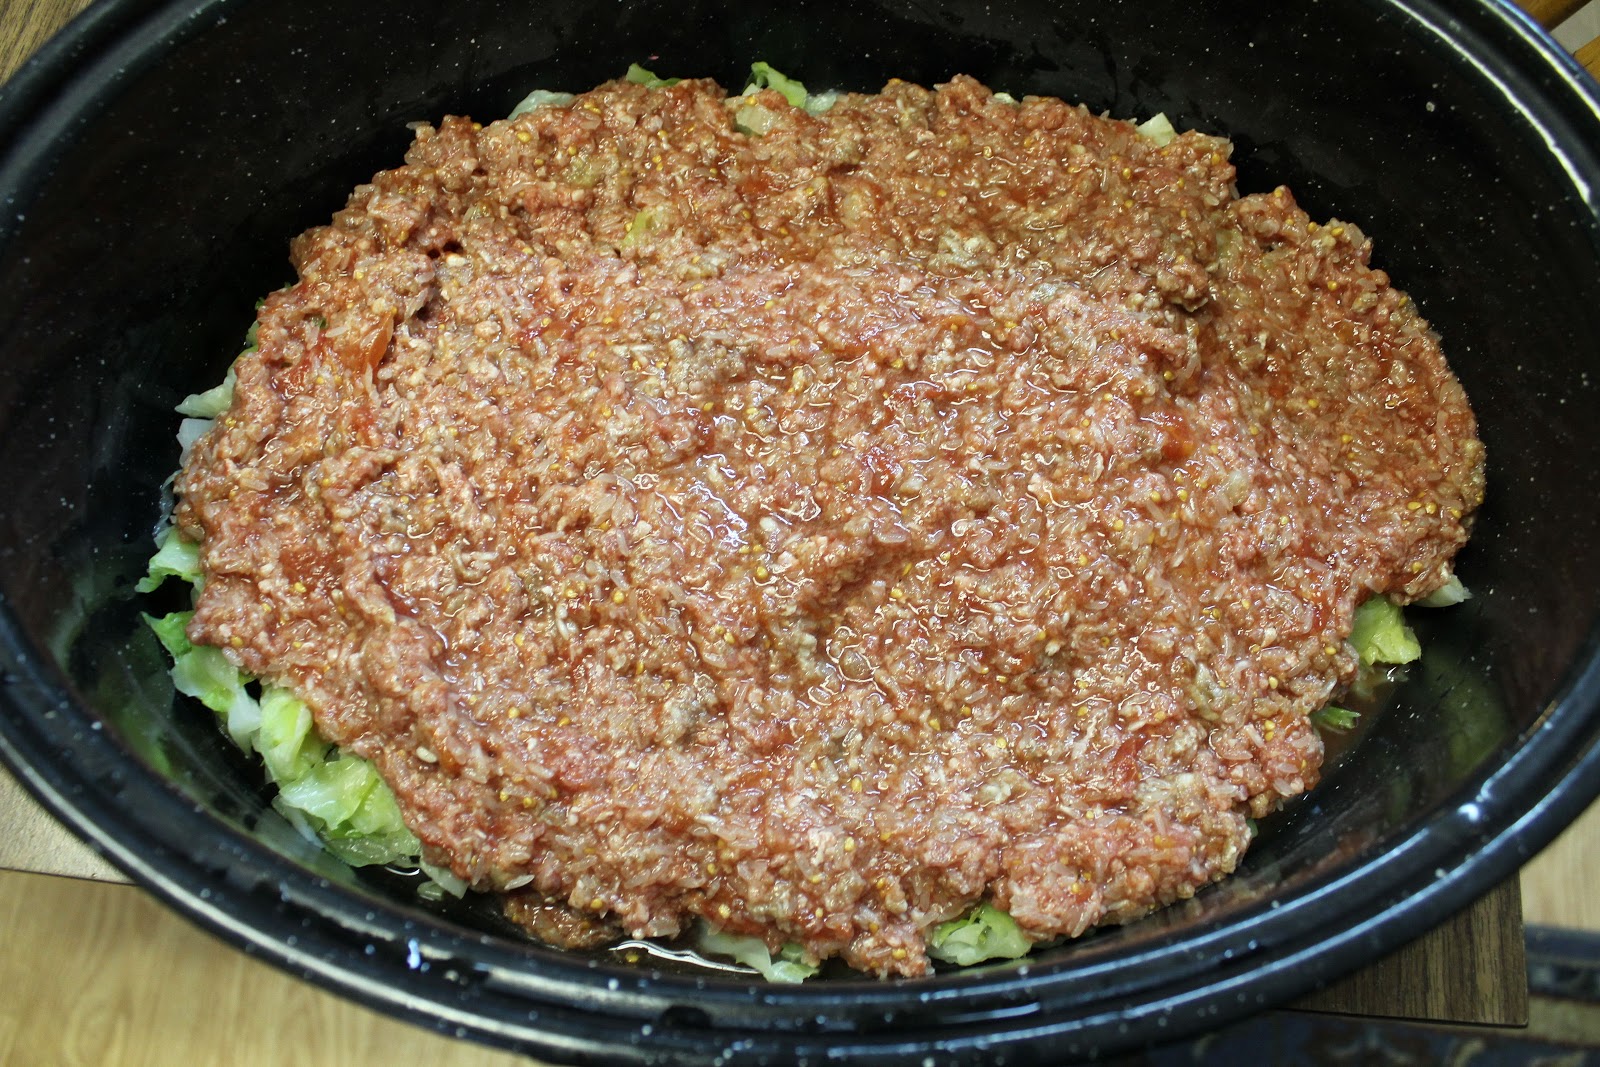
For the filling I cook 2 to 3 cups of rice and fry several pounds of hamburger before mixing together.  Salt and pepper to taste.  Amounts don't matter as leftovers can be used later.


I peel apart the heads of cabbage and use the smaller or torn pieces for the bottom of the container. 

To make the cabbage roll, place a leaf in your cupped hand.


Place a spoonful of filling near the end closest to your wrist.


Cup your hand and shape the filling into a nice mound.


Roll leaf over filling, tucking in sides as you roll.  Don't be too gentle because if you tuck it too loosely it may fall apart during cooking.


Roll top of leaf over to finish off.  Practice makes perfect but unperfect cabbage rolls still taste great.  :)


I freeze the cabbage rolls in ice cream pails or larger plastic containers.  Since I usually cook the cabbage rolls in my crock pot, I find a container that fits nicely in the crockpot.


Pack the cabbage rolls close together with rolled side down. 


When I have enough for a meal I layer on several pieces of wax paper as a divider so I can pry it apart when frozen.  That way I can freeze several meals in one container.


Continue filling and end with broken pieces again.  This way, you flip it to the bottom of the crockpot when frozen and have a layer of leaves on the bottom.


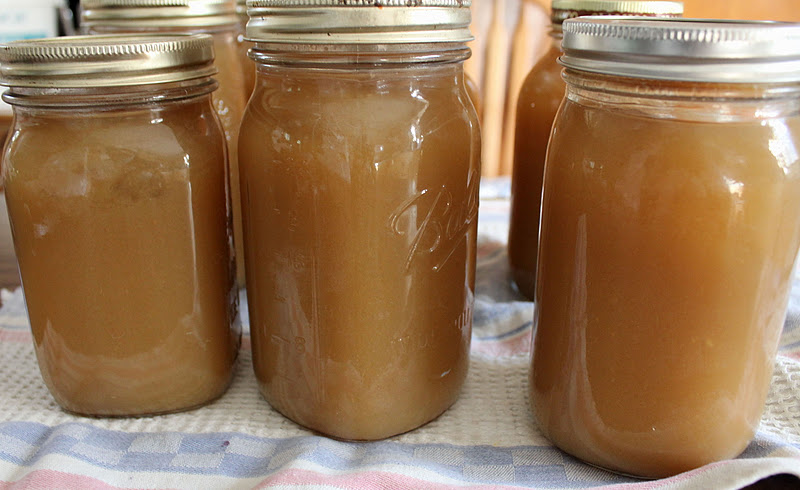
If you are cooking them fresh, you can cook them in a roaster instead of a crockpot.  Fill the roaster as above without the wax paper.  You can use crushed canned tomatoes or partially diluted tomato soup (I mix a can of soup with 1/2 can of water).


Cook at 350°F for 1 to 2 hours.  Cabbage should cut easily with a fork.


When I bring the frozen cabbage rolls out to cook, I place them cabbage pieces side down in a crockpot.  I add 1 to 2 cans of tomato soup depending on the amount of cabbage rolls I am cooking.  I again dilute it with 1/2 can water per can of soup.  I then cook on high all day until supper.  If you cook fresh cabbage rolls in the crockpot, it doesn't take as long since they don't have to thaw.


If I have rice-hamburger filling left, I mix in a can of tomato soup and top with cheddar cheese.  Bake at 350°F for about 3/4 hour until heated through and cheese is melted and browned. 


My mom does her cabbage rolls differently.  She uses raw rice and raw hamburger in hers.  She also often buys sour cabbage to roll them in.  She cooks hers on the top of the stove in a large pot.  She puts an old plate on the bottom of the pot so the cabbage rolls don't stick and burn.  Then mom covers them with tomato juice and boils them slowly for several hours.  I don't use this method because: 1. they may boil over (big mess), 2. I don't use enough juice so they are dry, 3. I don't cook them long enough so they are partially raw.  Mom has perfected this method over the years and hers are always tasty but I prefer my method.
Enjoy one or more of these ideas.  ;)


Thursday, October 27, 2011

Pear Juice and Pear Butter

We had a huge crop of pears this year so I decided to try some Pear Butter.  When you make fruit butter you need to cook the fruit for a long time to reduce the juice so the fruit is thick and spreadable.  I decided to make juice first and then use the pulp for the butter. 

I started with a couple of recipes and made my own.  Here are a couple of the links that started me off:  http://bad-girls-kitchen.blogspot.com/2008/09/pear-butter.html   http://frugalliving.about.com/od/recipes/r/Pear_Butter.htm   http://allrecipes.com/Recipe/pear-butter/detail.aspx

Ingredients
2 ½ quarts pear pulp (from juicer – cored not peeled)
½ c orange juice
2 c sugar
2 tsp cinnamon
½ tsp cloves


Pick pears that are mostly ripe.  I had two sinkfuls of pears to use.


Wash and core.  Remove blemishes or bad spots there is but no need to peel. 


I do not need to core the pears to juice them but since I was going to use the pulp I did core them.  Juice the pears and pour into a large pot.  Heat to boiling point then simmer 5 to 10 minutes. 


Fill sterilized jars and process for 10 minutes in hot water bath. 


I ended up with 7 quarts of juice.  It is quite thick - more like a nectar instead of juice but it is quite tasty. 


Now onto the butter.  I placed the pear pulp into the crock pot along with 2 cups of left over pear juice.  I decided to add the juice because the pulp was fairly dry.   


 I cooked the pears on low for about five hours with the lid on, stirring occasionally.  Some fruit butter recipes have you keep the lid ajar so moisture escapes but it wasn't needed in my case.


I then ran the pears through my sieve to remove the peels.  In one of the links, they used an immersion blender to blend the pulp and peels.  I do not have one so did it my way.  I also found the peels were still tough - if you don't juice the pears first you need to cook much longer to reduce the liquid so the peels will have more time to soften. 


Since I did it this way, I probably did not have to core the pears first.  Oh well, one step less for next time.  There was not much waste left for the compost pile. 


I then measured the pulp so I would know how much sugar, etc. to add.  I had around 10 cups of pulp. 


The pulp was returned to the crock pot and orange juice was added. 


Sugar and spices were also added.  I used cinnamon and cloves because my mom used to can pears with cloves when I was young and I liked the taste.  You can use ginger or nutmeg instead if you prefer. 


Stir together and cook on low for 3 to 4 hours for the flavours to blend. 


Stir occasionally until smooth and heated through. 


Fill sterilized jars and process for 10 minutes in a hot water bath. 


I got 6 1/2 pints of pear butter. 


Thursday, February 10, 2011

Pumpkin Pudding

We love pumpkin pie but I am lazy and don't always like fussing with pie crust.  Besides its the filling I like so why not make Pumpkin Pudding instead.  I found a recipe for Impossible Pumpkin Pie in Betty Crocker's Creative Recipes with Bisquick and adapted it for my pudding.

We grow our own pumpkin so I use my homemade pumpkin that I freeze in 750 gram yogurt containers.

Ingredients
3/4 c sugar
1/2 c bisquick
2 Tbsp butter or marg
1 large can evaporated milk (13 oz)
2 eggs
1 container pumpkin (If you use store bought 1 16 oz can)
1 1/2 tsp cinnamon
1/2 tsp ginger
1/4 tsp nutmeg
1/4 tsp allspice
2 tsp vanilla

Grease your crockpot and get out your blender.  Drop two eggs into the blender.


 Add sugar and bisquick.


 Measure in spices.  Drop in softened butter or marg.


Add milk, vanilla and pumpkin.  Since I use more pumpkin than the original recipe calls for my blender won't hold all the ingredients.  So I hold back some of the pumpkin and some of the milk.


Blend until ingredients are mixed and smooth - for about 1 to 2 minutes.


Pour into greased crockpot.


I then blend together the remaining pumpkin and milk.


I add this to the crockpot and stir together.


Cook on high for 4 to 5 hours until a knife inserted into the centre comes out clean.  Somebody got to the pudding before I could get a photo of it.


Serve warm or cold, entirely your preference. 


Serve plain, with ice cream, whipping cream or with cream as shown below.  Enjoy!