Monday, August 13, 2012

Apricot and Yellow Plum Jam

I saw a recipe for Apricot and Yellow Plum Jam in my cookbook, "250 Home Preserving Favorites" by Yvonne Tremblay that sounded interesting.

I took the basic idea and made changes because she used commercial pectin and lots of sugar.  I find most recipes with pectin have more sugar than I would like.  I don't like to make jam where you use more sugar than fruit.  It also used Apricot Brandy which I left out.

Ingredients
8 c apricots
8 c yellow plums
1 qt homemade pectin
1/2 c lemon juice
8 c sugar


Wash, half and pit apricots.  I used some greener apricots as I read fruit has more pectin then and you should use some under-ripe fruit when making jam.


I used the yellow plums on the greener side so had to cut them off the pit. Last year when they were very ripe in the Three Plum Jam http://mountaingardengleanings.blogspot.ca/2011/09/three-plum-jam.html, they seemed to be too juicy and took too long to boil down to jam.


I boiled the fruit together with the pectin and lemon juice until it was soft.


Then I added the sugar and boiled until it was jam.  Last year I used the cold saucer trick but this year I'm trying the thermometer.  You are to boil the jam until it reaches 220°F or 100°C.  Skim off foam and pour into sterilized jars.  Process for 10 minutes in hot-water bath.


The jam was very fragrant when cooking and was tasty when tested.  It is runnier than the Spiced Apricot Jam but that used apricot pulp so had less juice to boil down.  The recipe made 9 pints.


Thursday, August 9, 2012

The Cabbage and The Rose

The Cabbage and The Rose
(alternate title - Affinity)


I wonder if the cabbage knows


He is less lovely than the Rose;


Or does he squat in smug content,


A source of noble nourishment;


Or if he pities for her sins


The Rose who has no vitamins;


Or if the one thing his green heart knows --


That self-same fire that warms the Rose?


 by Minnie Filson (AKA Rickety Kate)


Monday, August 6, 2012

Frenching Green Beans

I like my green beans frenched when I freeze and blanch them.  It is more time-consuming but I think it is worth it.  I like whole cooked green beans when they are straight from the garden but think that they taste better frenched when they are from the freezer.

This shows the three methods of frenchers that I have used.


This was my first frencher.  You feed the beans through it one at a time. 


This was the second bean frencher I bought.  You turn the handle as you feed beans into the slot.  I used it for years frenching enough beans for a family of four.  Often we did a two person frenching - one feeding the beans and one turning the handle.


Last year, when I went to french my beans, I found the suction cups that hold the frencher to the table worn out.  I decided to try the food processor and VOILA! easy frenching.  You put half-a -dozen or so beans in the hopper and turn on the switch.  Then you feed in the beans as fast as you can.


Nice and easy and so quick!


I frenched these two huge bowls of beans in no time.  Now my food processor in my bean frenching buddy!  Then a quick blanching and yummy beans all winter.  ;)


Thursday, August 2, 2012

Apricot Juice and Spiced Apricot Jam

Well the apricots are ready.  We have two apricot trees that are quite different.   I was told that the apricot trees here in Lillooet all got their start from apricot pits brought over by the Chinese labourers that worked on the railroad years ago.  Apricot trees start very easily. 

Our tree in the back has very juicy fruit - so juicy that as the fruit ripens they they start to hang like little sacks of juice.  You don't want to brush against those when you are picking apricots or you'll be covered in sticky juice.  These apricots are great to eat right off the tree or to make into juice.  The fruit on the tree in the front never get that soft.  They are not as sweet to eat right from the tree but they freeze well and are good in desserts and jam.

This year, many of the apricots from the back tree had splits in the skin so were not usable as the ants were drawn to the sweetness.  We think it may have been the weather with the rainy cool spring and then very hot temperatures.  We think the skins might have toughened up and then split as the fruit got larger - but this is just speculation on our parts.


This is how I make juice and jam.  I picked two large buckets of fruit.  I wash, sorted and pitted the apricots.


I then ran the apricots through my juicer.  I have a Breville Juice Fountain Elite.  The juice goes into the jug on the right side and the pulp is collected in the container on the left.


I then bring the juice to a boil.  Skim off any foam so the juice is clearer.


Pour the juice into sterilized jars and process in a hot water bath for 10 minutes.  I got 4 quarts of apricot nectar.  I don't strain out the pulp so the juice is very thick and oh so tasty.


Then I used the leftover pulp for Spiced Apricot Jam.  You could use regular apricots for the jam but would just have to cook it longer.

Ingredients
8 c apricot pulp
4 c sugar
1/3 c lemon juice
1 qt homemade pectin
1 1/2 tsp cinnamon
1/2 tsp allspice
1/2 tsp cloves


Pour the pulp and the rest of the ingredients in a large pot and bring to a boil, stirring frequently so the jam won't burn.  The smell of apricots and spices is wonderful as the jam cooks.


I bought a candy thermometer this year and am using it instead of the cold saucer to test the jam.  You are to cook the jam until it reaches 220°F or 100°C.  Since the pulp was so thick it had a tendency to spatter and spit so I had to put it into a taller pot. 


When it reaches the jam stage, pour into sterilized jars and process in a hot water bath for 10 minutes.  I got 6 pints of jam. 


Monday, July 30, 2012

Dehydrated Kale Chips

I first tasted Kale Chips in Valemount at Barry's niece's place.  They were wonderful.  So I decided to plant kale this year so I could make some chips.  Right now we are having a heatwave (temps are +35°C) so it is too hot to use the oven.  I found a couple of recipes that use the dehydrator so decided to try that.

http://goodlookinghomecooking.blogspot.ca/2012/05/dehydrator-diaries-kale-chips-with.html
http://vegetarian.about.com/od/rawfoodsrecipes/r/Raw-Kale-Chips.htm

I planted two kinds of kale this year - Dwarf Green Curly and Redbor F1.  I won't plant the Redbor again as it was very expensive for the seeds ($3.99 for a package that contained 18 seeds!  And out of those only 8 grew!)  The green with do nicely, thank you very much!

Here is a leaf of green kale and one of the red kale.


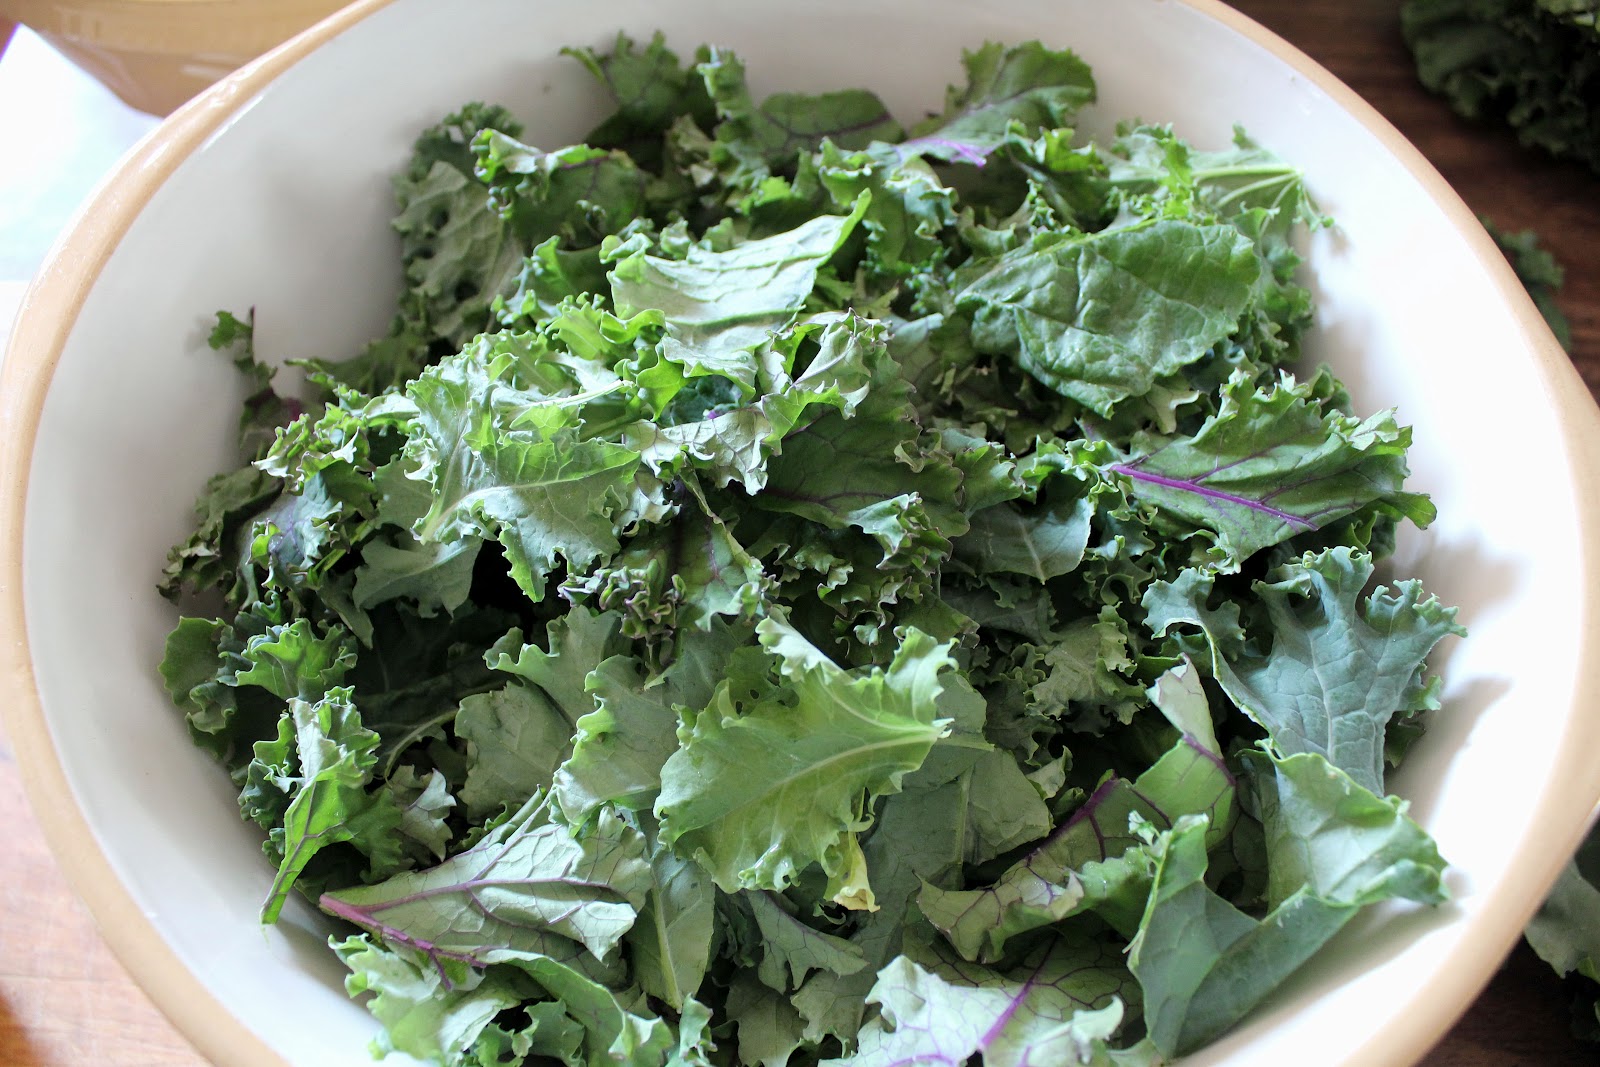
Here is the kale all washed and spun dry.


Rip the kale into bite-sized pieces.  Do not use the tough middle stalk.


Drizzle on olive oil and sprinkle with salt.  Add whatever seasoning you want.  Some ideas that I tried are listed below.  Mix well using your hands making sure oil, salt and spices cover all the pieces.


Lay out on dehydrator trays in single layer.  Try to have some air space around the pieces of kale.


Dry for 2 hours on 135°F or until dry and crispy.


Eat and enjoy.  Or as I read on the internet, put in a ziplock bag and freeze.  I decided to freeze some so I have snacks for the winter.  I left the bags fat with air so the chips won't crush so easily.  I also placed them in the freezer basket so they won't have something heavy land on them. 

UPDATE - I tried the chips from the freezer and they were a bust.  They did not keep their crunch and were very chewy.  The flavor was good but I miss the crunch and got tired of chewing.  Oh well, you just don't know until you try something.


I have been trying a variety of flavors to see what I like best.

1.  garlic powder - favorite so far

2.  balsamic vinegar - so-so, I wanted a salt and vinegar flavor but balsamic vinegar was too mild - needed more bite to it

3.  lemon juice and black pepper - good, the lemon flavor came through as well as a slight bite from the pepper

4. parmesan cheese - second favorite - very tasty

5.  dried dill weed and a bit of cayenne pepper - can taste dill a bit but no bite (not enough cayenne and dill taste not strong enough)


6.  lemon juice and garlic powder -good - nice bite from the lemon and goes good with the garlic


I'm also thinking about a mix of onion and garlic powder, or add some chili powder, or soy sauce and garlic powder, or powdered ranch dressing mix (I saw that one on the internet).  Some people also use sweet spices (cinnamon, nutmeg, ginger) with a sprinkle of sugar.  The list goes on and on only limited by your taste preference and your imagination.  ;)

Thursday, July 26, 2012

Waterfalls Along The Icefields Parkway

In June, Lulu and I travelled through the Icefields Parkway coming home from Rocky Mountain House.  I love the power of waterfalls so I stopped at a number of them along the way.  Most of them were really roaring because we have had a wet spring and goodly amount of snow in the mountains this winter.

The first one I stopped at was a pullout for the lookout for Bridal Veil Falls.  There was a hiking trail that I followed and got quite muddy because it had just rained.  I didn't go too far because it was slippery and I didn't want to slide down the mountain slope.


While walking the trail to Bridal Veil Falls, I could hear a dull roar off to the left.  I ventured that way and found a huge rushing waterfall.  I got quite wet from the spray and had to wipe off the lens and my glasses several times.  I found out later that this is Panther Falls.


Continuing down the road towards Jasper, you round a corner and Boom! on your right is Tangle Falls.  There is a pullout on the left side of the road so you can stop.  It was quite a pretty falls and no muddy hike in order to snap some pics.


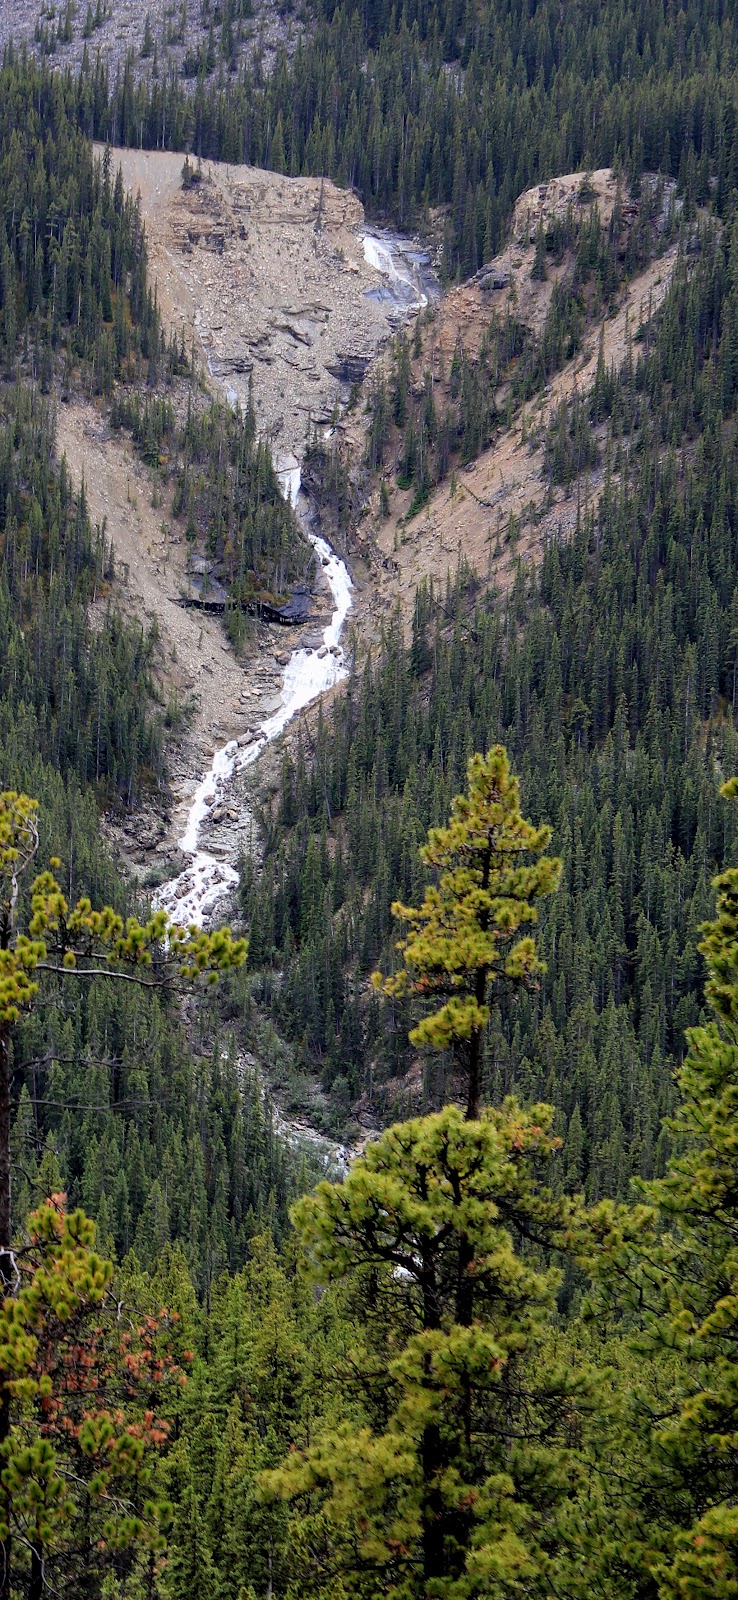
Then a short way down the road, I came across a waterfall off to the left.  I pulled over and quickly snapped away.  I couldn't find a name for it anywhere.


Next stop, Sunwapta Falls.  There are paved pathways so not as much chance of getting muddier.  (My pants already looked bad from the knees down.)  You could tell that the water is high this year because several walkways closer to the falls were blocked off because the river was over its banks and covered some of the pavement.


Last stop, Athabasca Falls.  Again there is pavement so mud wasn't a problem, but in several places you had to walk through water 1 to 2" deep to get further up the path.


Lulu had to stay in the car while I snapped pics at all the falls.  I took her out several times during the trip but she didn't like all the water laying around nor the rain.  She is a fair-weather bird.