Thursday, October 4, 2012

Lulu Visits Jasper

On our way to Alberta to visit Barry, Lulu and I stopped in Jasper, AB to visit Jasper the Bear.  I remember visiting Jasper years ago and seeing him.  Unfortunately, he was vandalized a number of years ago and a new bear had to be made.


"Hello, there! Jasper the Bear."  called Lulu chuckling, "I'm a poet and I didn't know it!" 


 "My, you've got long toe nails!  Don't you think it's time for a pedicure?"  asked Lulu.

 
"Hey!" said Lulu, "We look like twins when I puff out my chest and stand up nice and tall.  The only difference is that you're puffing off your belly instead of your chest!" 

 
 "Hey, mom!  Take a close up of me doing my Jasper the Bear impersonation."  called Lulu.

 
"From this angle, it looks like Jasper is going to take a swipe at you," I say.

 
"Take a swipe at ME!  He'd better not.  You know I'm the star here."  exclaims Lulu.  "I think I has enough of this bear's company.  Come om, mom, time to go." 

 
And so Lulu and I got back in the car and continued on our merry way. 


Monday, October 1, 2012

Cherry Berry Jam

Last year I checked out many different jam recipes.  I liked the idea of a mixture of fruit.  I didn't find one for exactly what I wanted, so I made one up.

Here is my recipe for Cherry Berry Jam

Ingredients

12 c cherries
4 c raspberries
4 c blackberries
4 Granny Smith apples
1/2 c lemon juice
1 c homemade pectin
10 c sugar

I use frozen fruit because these three do not ripen at the same time.  I bring out the needed fruit a day or two ahead and thaw it in the fridge before making the jam.  I use pitted cherries and squish them as I put them into the pot.  It serves two purposes - to check for missed pits and to make it easier for the cherries to break up during the jam process.  The first time I made cherry jam I didn't do this and had to try to squash the cherries with a potato masher part way through cooking.  It is easier to squish them before cooking than mash them while they are steaming hot.

 
The blackberries are a thornless variety that grow in our yard.  I don't know if we have two varieties but some of the berries grow much larger than the rest.  The small ones are also harder to pick as they don't release from the stem as easily as the larger ones. 

 
The raspberries here seem to have a better crop in late summer.  They do produce in the spring but the berries are small and dry out quickly.  In the latter part of August and on into September and even October - we have big, juicy berries. 

 
I peel, core and chopped the apples.  The apples not only add natural pectin but give little appley bits to add texture to the jam.  Some apples mush-up quite readily when you cook them, but grannies seem to hold their shape better. 

 
Mix all ingredients except the sugar in a large pot and cook until fruit in soft and breaking apart.  Add sugar and continue boiling and stirring until it reaches the jam stage.  (either 220°F on a candy thermometer or the cold saucer test)

 
Pour into sterilized jars and process for 10 minutes in hot water bath.  The recipe makes 10 - 11 pints.  Enjoy!  ;)


Thursday, September 27, 2012

Pitting Cherries

Cherries are pitted much earlier in the year but since I'm posting a cherry jam next time, I decided to talk about pitting cherries.

This was my first cherry pitter.  Very slow and messy.  One at a time and juice splatters everywhere.  I borrowed a larger one that had a reservoir to catch the pits but it still only pitted them one at a time.  It was not as messy but my hand got sore from pushing down the plunger so many times.

 
I decided to splurge and get a multi-cherry pitter since I have four cherry trees and they produce many pounds of cherries. 

 
I freeze some of the cherries with pits just to eat as fruit during the winter.   I pit the ones I am going to use for jam, desserts, smoothies, and baking.

 
As you can see, it pits five cherries at once.  You fill the hopper with cherries and give them a nudge into the holes.

  
You pull the lever and voila five done in an instant.

 
As you can see the pitter comes down and pushes the pit through the cherry into a container.


You can see the sharp teeth that push out the pits.


The cherry stays on the pitter to fall off into another container.


Here are the cherries - ready to be bagged and frozen.  I usually make my cherry jams in the early fall when things have slowed down in the garden.  July is too busy and often much too hot to be making jam.
 
 
Here is the pile of pits.  This pitter is quick and not too messy.  It isn't 100% perfect so you do have to check for missed pits.  This happened with the other pitters as well.  Sometimes the pitter slides alongside the pit and leaves it in the cherry.  But this is minor to getting the pitting done quickly.  I do a quick check when bagging the cherries and again when I thaw them out to use to remove any missed pits. 

 
All in all, I'm happy with my cherry pitter.  It makes cherry pitting much simpler.
 

Monday, September 24, 2012

Spiders In My Yard

 
I have seen a variety of large spiders creeping around my buildings this year.   


The spider weaves a sticky web
To capture bugs to eat.


What keeps the spider's sticky web
From sticking to her feet?


Spider webs are very tricky
Because not all the strands are sticky.


Unlike the passing hapless fly,
The spider knows which strands are dry.


But if she accidentally stands
Upon one of the sticky strands,


She still would not get stuck, you see--
Her oily body slides off free.


by Amy Goldman Koss


Thursday, September 20, 2012

Growing Soup Beans

We have a Seedy Saturday seed exchange here and I have tried several different seeds over the past several years.  I tried several bean varieties last year - pinto, black and white.   I only had a few of the white beans so I used them all for seed this year.  They were labelled as Cherokee Trail of Tears so I have been calling them that until I went on the internet and found that Trail of Tears beans are black.

Here are the beans in the garden earlier this summer.

 
They are a bush-type bean.  They grow green pods with a pinkish blush on some of them. 

 
As they got more mature, they turned pinker. 

 
I pulled them out before they were completely dry so they could dry indoors.  Last year I left my beans too long in the garden and a number of them split and spilt their seeds in the garden.

 
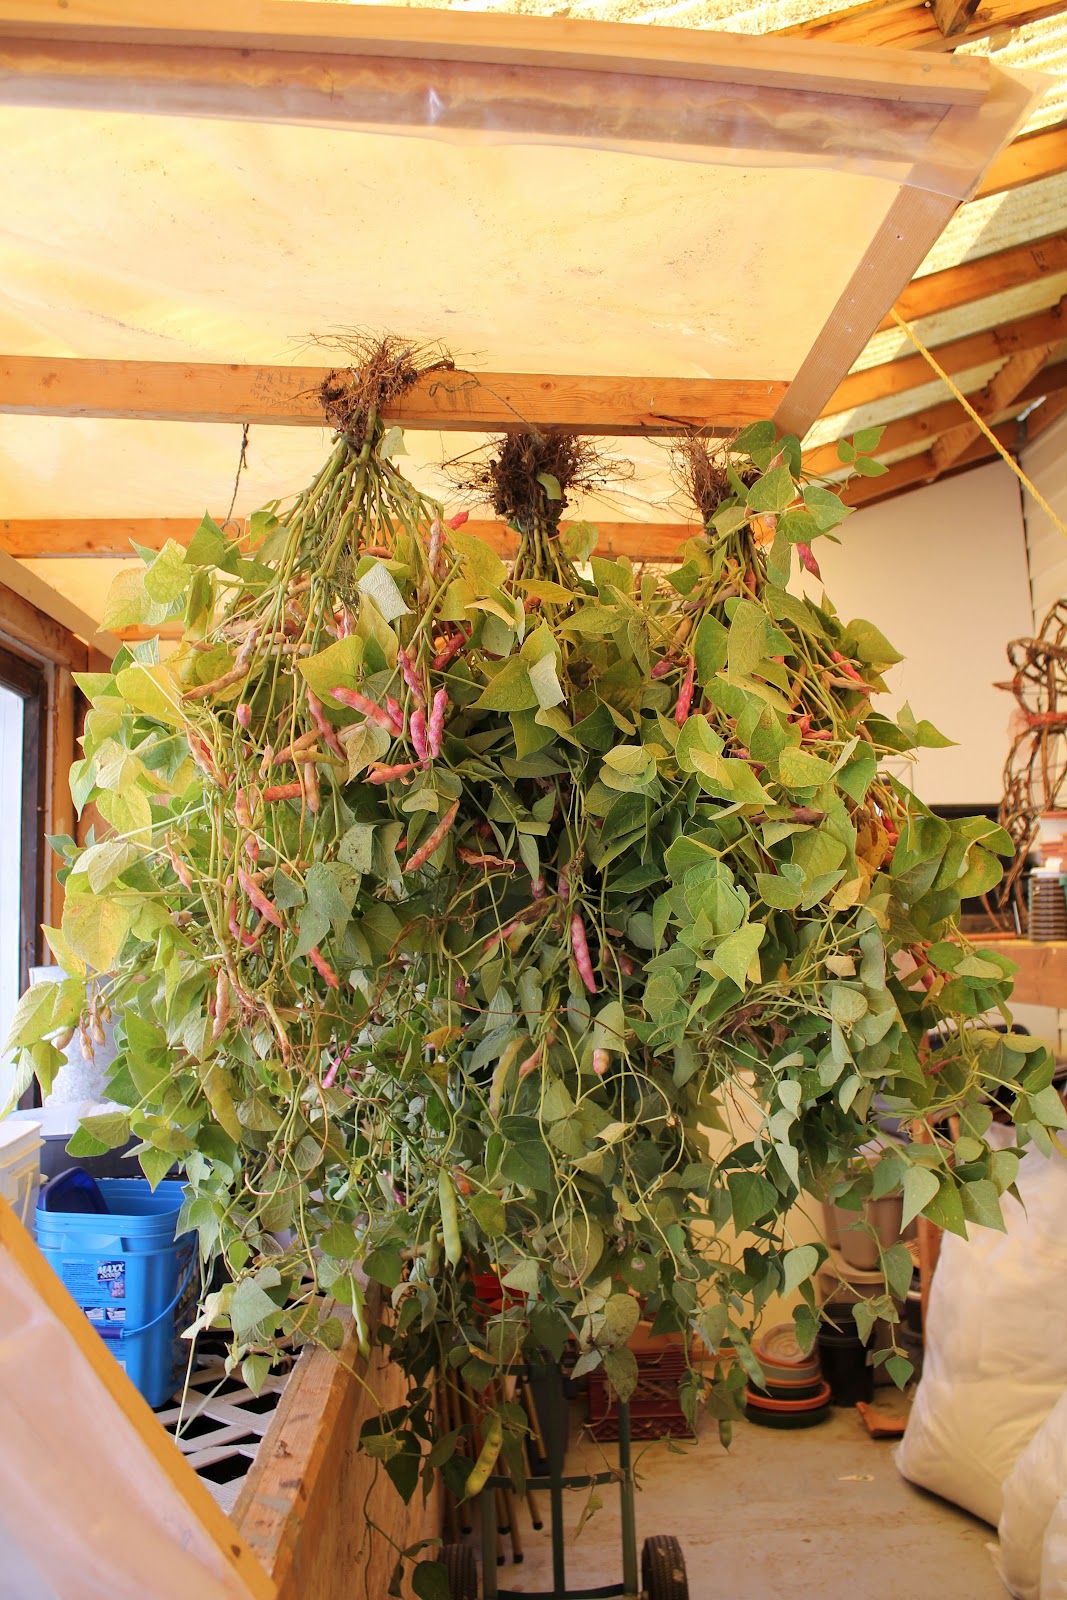
I tied them together and hung them in the greenhouse.  After they dried, I shelled the beans.


I set them on a tray to make sure they are completely dry.  Notice the shape of the beans - they are more roundish than regular white soup beans.  I'll have to do more research to see if I can find out what they are. 


Monday, September 17, 2012

Chocolate Zucchini Cake

I was given this recipe years ago when my boys were young.  It was a new way to use up some zucchini.  I was very moist and tasty and I made it every year when the zucchini took over the world.

Ingredients

1/4 c butter or marg
1/2 c oil
1 3/4 c sugar
2 eggs
1 tsp vanilla
1/2 c sour milk
2 1/2 c flour
4 Tbsp cocoa
1/2 tsp baking powder
1 tsp baking soda
1/2 tsp cinnamon
1/2 tsp cloves
2 c grated zucchini
1/2 c chocolate chips


Grate enough zucchini to make 2 cups.  I use unpeeled but know of some people who peel their zucchini to hide it from others eating the cake. 
 
 
Combine oil, eggs and butter.  Mix in sugar and vanilla. 

 
Combine all dry ingredients in a separate bowl. 

 
Mix well. 

 
Add dry ingredients, alternating with sour milk. 

 
Add chocolate chips and zucchini. 

 
Stir well. 

 
 Pour into greased and floured 9" by 13" pan.  Bake in preheated oven at 325°F for 45 minutes or until toothpick inserted comes out clean.

 
 I don't bother to frost the cake because it is so moist.  Enjoy!  ;)


Thursday, September 13, 2012

Spiced Plum Chutney

I was looking into making some spicy plum chutney for a friend.  I found these three recipes that looked interesting so I took what I liked and made up a recipe of my own.

http://localfoods.about.com/od/summer/r/PlumChutney.htm
http://www.food.com/recipe/plum-chutney-40244
http://www.food.com/recipe/spiced-plum-chutney-193167

I decided to use both my Italian plums and prune plums.

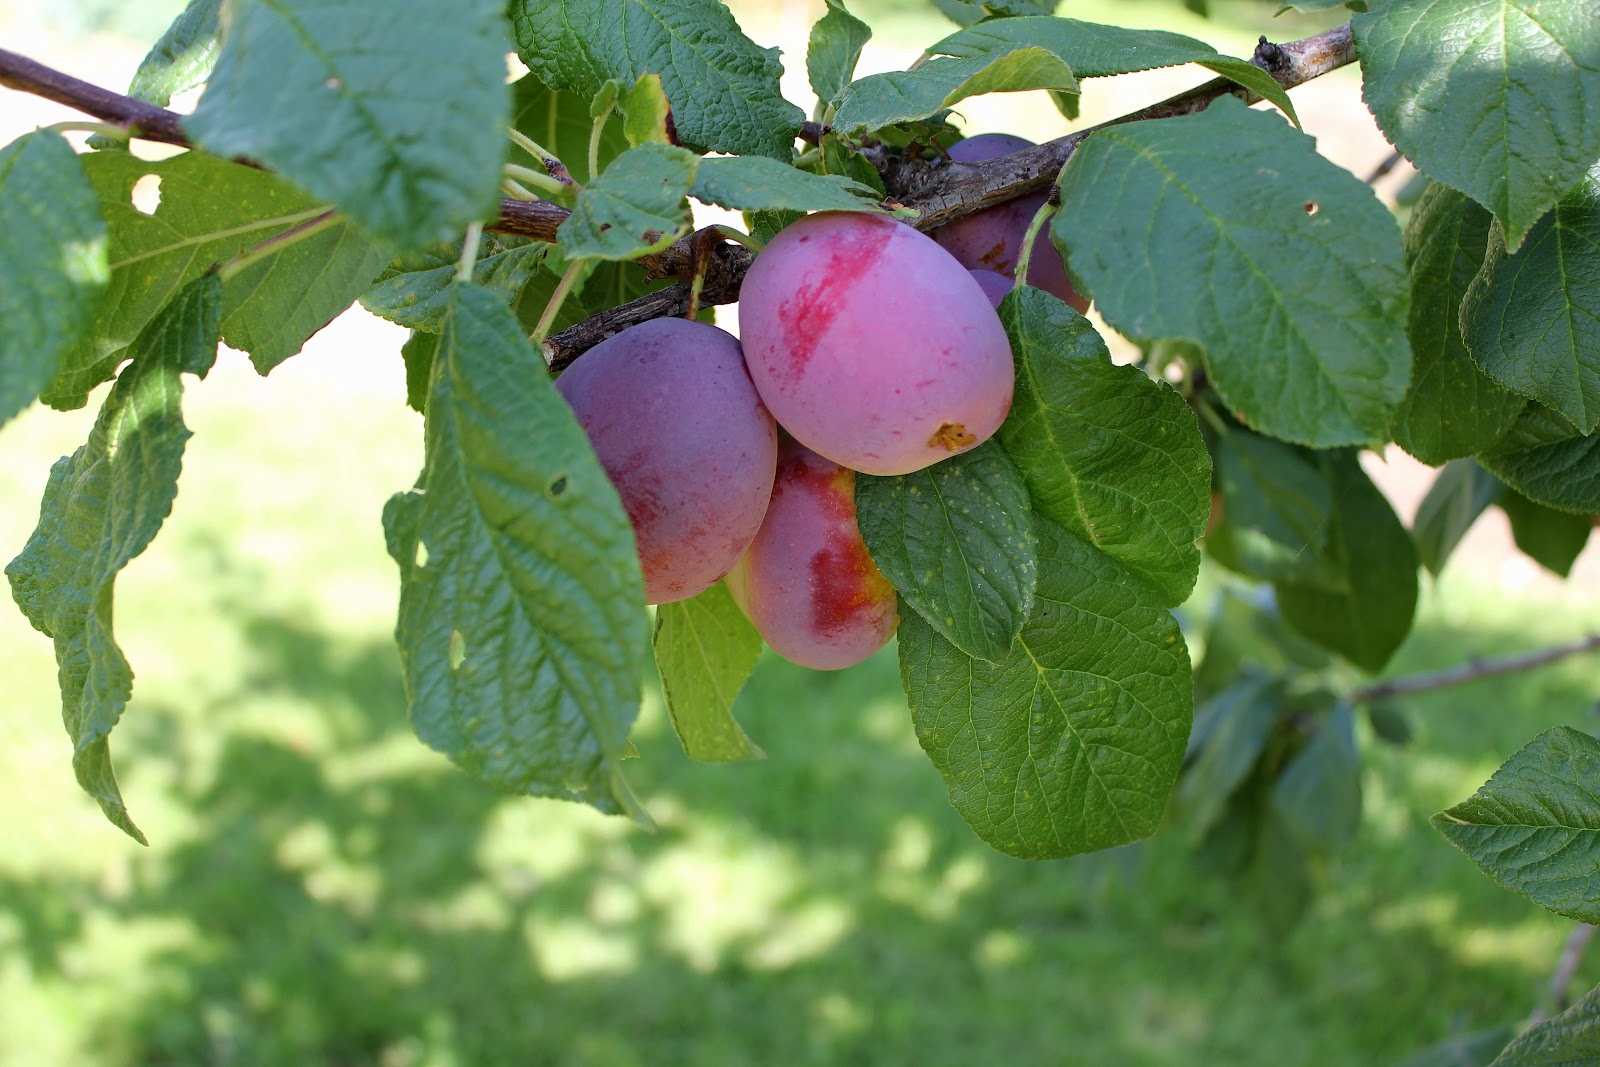
Italian plums are larger and have a more yellow coloured flesh than the prune plums.


Prune plums can be eaten quite green (my dad likes them this way) or you can wait until they are softer and the flesh is a little yellower.  They are usually the last plums ready but this year, one of the trees was ripe early so I used them in the chutney.


Ingredients

10 c plums - cut into pieces (I used prune plums and Italian plums)
4 apples - cored, peeled and chopped - (about 2 c)
1 onion, chopped
2 large cloves garlic, minced
1 c golden raisins
2 c sugar
1 1/2 c vinegar
2 tsp salt
2 Tbsp mustard seed
1 tsp curry powder
1 tsp ground ginger
1 tsp cinnamon
1/2 tsp ground cloves
1/2 tsp cayenne pepper
1/2 tsp red pepper flakes


Wash and pit plums.

 
Cut into pieces.  I ended up using 5 cups of Italian Plums.
 
 
Do the same with the prune plums. 

 
I again used 5 cups of cut-up prune plums. 

 
Peel, core and chop apples.  Chop onion and mince garlic.  Add raisins and rest of ingredients.  Bring to a boil, then reduce heat.  Stir often and let mixture cook and thicken.  It takes around an hour for this to happen.

 
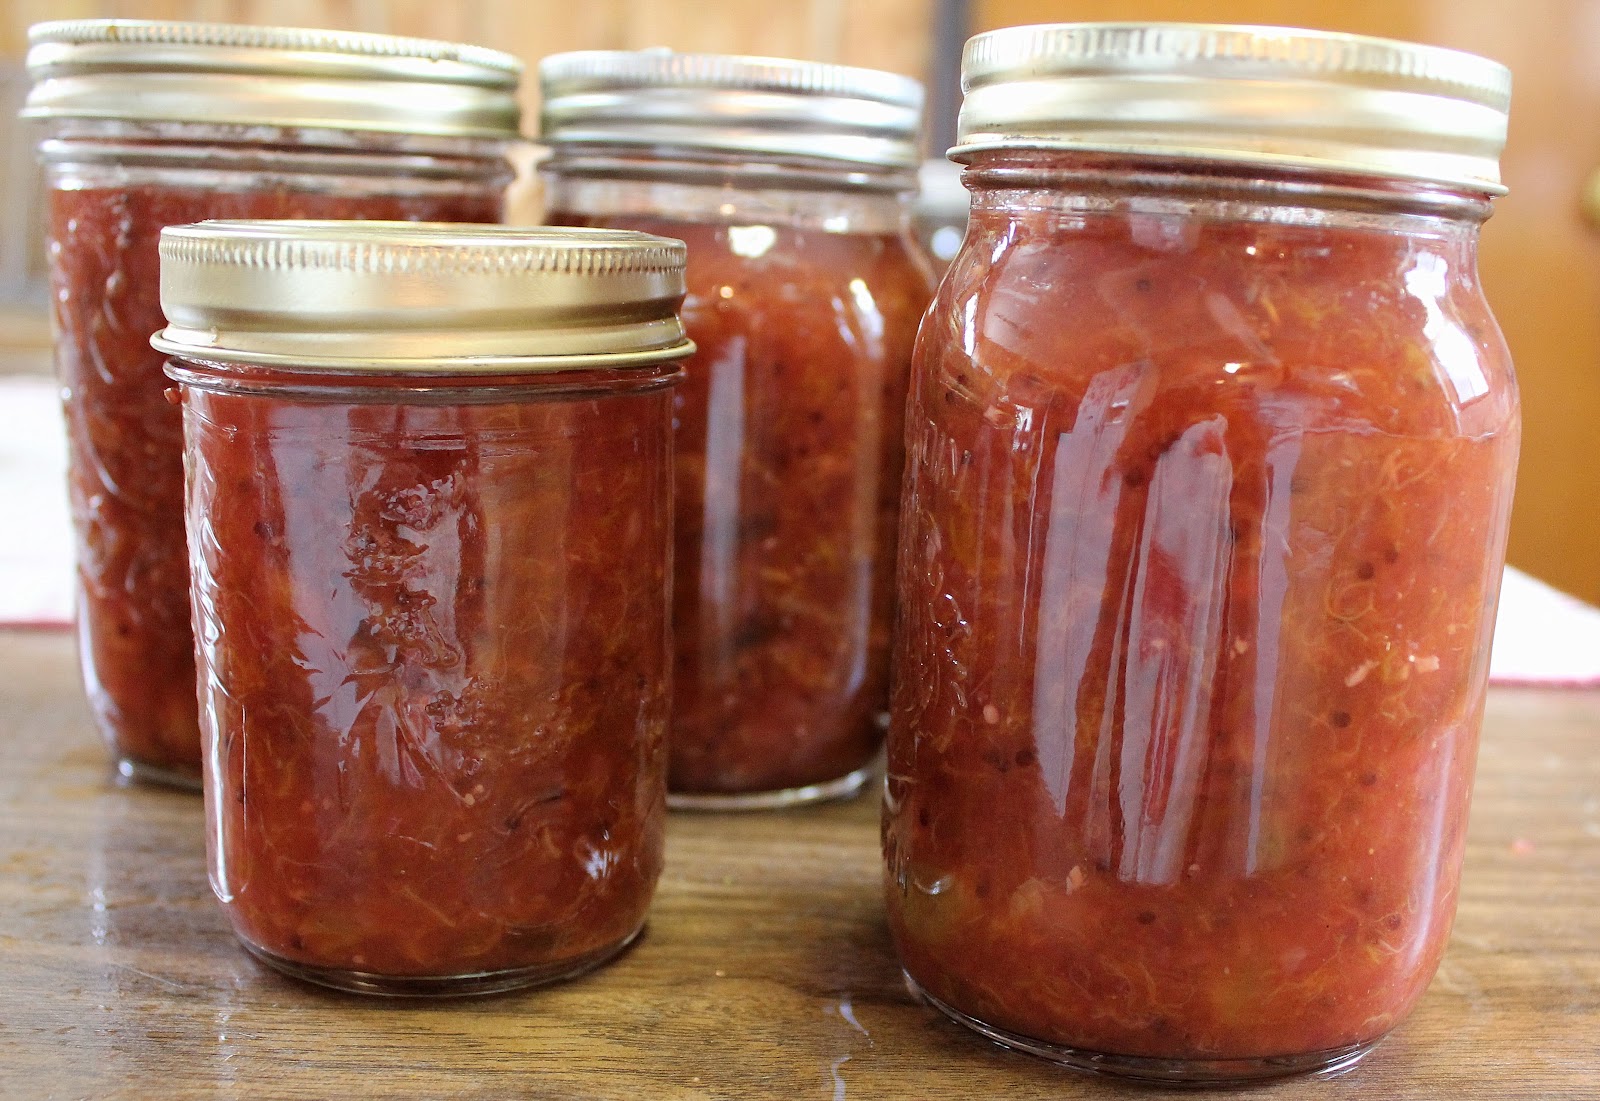
Fill sterilized jars and process in a hot water bath for 10 minutes.  This recipe made 5 pints and 1 half pint.  You should allow chutney to sit for 4 to 6 weeks before eating it so the flavours can meld.