Monday, March 25, 2013

Lulu's Couch Stairs

Lulu seems to have trouble sleeping like a chicken.  Last year, when my cousin Tina was staying with us, Lulu started falling off her roost in the kitchen during the night.  I don't know if she was trying to move around and would lose her balance, but I would sometimes hear a noise and get up and find her laying on the floor.

We started letting her sleep on her table in the living room.  The problem with that was that when Lulu was ready to get up in the morning, she would jump onto the couch and start squawking until I got up to get her down.  The couch was too high for her to jump/fly down and the coffee table was also in the way. 

Since I like to sleep in during the winter, it would frustrate me to get woken up to take Lulu off the couch so she could go to sleep behind my bed until noon. 

Now tell me what chicken can't sleep on a roost and sleeps in until noon?  Only Lulu!

Well I decided to come up with a plan so Lulu could get on and off the couch by herself.  I found some low boxes that usually hold grapes or strawberries  and I decided to build her a stairway.


I stacked the boxes and covered them with some old towels so Lulu doesn't skid on the cardboard.


I started by using peanuts to bribe Lulu to climb the stairs.  She got the idea and started using the boxes regularly.  Here is Lulu on the first step going up.


I caught Lulu in the act, flying up to the next step.  It takes her quite awhile to get up or down as she seems to need to encourage herself that she can do it.

 
Here is Lulu ready to hop onto the couch.  You can see her table beside her.  She doesn't seem to have any trouble hop/flying from the couch onto the table.


Finally made it!


"Whew!", sighs Lulu, "that was hard work!"


So now Lulu gets herself off the couch in the morning and grabs a few bites of food before heading into my room to sleep behind the bed.  She is very quiet because I don't hear her until I wake up and call her name.  Then she chirps a couple times before going back to sleep.  What a life!  ;)


Wednesday, March 20, 2013

Sourdough Sharing - Cake

This month for Sourdough Sharing, I have two sourdough cakes to offer. 

The first one is a Carrot Cake that I previously blogged here.  It is Barry's favorite carrot cake as he hates dry cakes and this one is very nice and moist.  It is very tasty with the nuts, raisins and pineapple added.


The other cake is a Sourdough Fiesta Cake that I found in my Sourdough Cookery cookbook by Rita Davenport.  I was pleased to be able to use my own dehydrated beans and raisins from my garden as well as our own apples in this cake.

Ingredients
1/4 c butter, softened
1 c sugar
1 egg
1/2 c milk
2 c mashed cooked pinto beans
1 tsp vanilla
1 c sourdough
1 c flour
1 tsp baking soda
1 tsp cinnamon
1/2 tsp cloves
1/2 tsp allspice
2 c diced apples
1/2 c chopped nuts
1 c raisins

To make the beans, I soaked 2 cups of pinto beans overnight.  I then drained them and cooked them in fresh water til they were tender.  I then redrained them and mashed 2 cups of beans.  I had 2 cups of beans left over that I will use when I make refried beans later this week.  I now know that you only have to soak half of what the recipe needs as the beans double in size.


Beat together butter, sugar and egg.  Add milk, vanilla and beans.  Mix in the sourdough.

Combine dry ingredients and add to mixture.  Stir in nuts, raisins and apples.


Pour into a greased bundt pan and bake at 375°F for 45 minutes.  


Cool in pan for 5 minutes.  


Remove from pan and glaze when cool.


Glaze Ingredients
1 c icing sugar
1 tsp vanilla
2 Tbsp milk

Blend all ingredients and drizzle onto cake.  


I found the cake to be nice and moist.  Usually when you bake with apples, the standard spices seem to be cinnamon and nutmeg.  Using cloves and allspice gives it a different and pleasing taste.  The pinto beans are not noticeable but add hidden protein to the cake.  Enjoy!


Try one of these or take a look at the blogs below for other sourdough cakes.


Monday, March 18, 2013

Spinach Time

Last year I let my spinach go to seed so I could save some to plant this year.  Since I was often away or busy, the spinach got away from me and much of it reseeded itself when I wasn't looking.  I was still able to save a fair amount of seed (enough to share at Seedy Saturday).

Here is my huge patch of spinach that is ready super-early.


We have been eating steamed spinach sprinkled with vinegar and also spinach salad with bacon, mushrooms and boiled eggs.  I plan on using some for soup as well.

 
Someone else likes fresh spinach as well.
 
 
Lulu stays close to the edge of the patch as she enjoys her feed of spinach.  We don't mind sharing with her since there is so much of it.

 
She also likes that some of the leaves from last fall are near the spinach.  She likes to scratch and look for bugs while feasting on the spinach.

 
"Oh boy," exclaimed Lulu.  "I sure like all this green stuff!  Yum, yum, yum."

 
So Lulu is enjoying our nice weather - eating, scratching, dustbathing and sunning herself most of the day.  ;)


Monday, March 11, 2013

Painting Update

Well, I'm over half done my painting and am very pleased with the results!  The kitchen was done in dark panelling, so I needed to do two coats of primer and two coats of paint to cover it.  I am painting the kitchen a peachy colour.  I am also painting the window and door casings white, as right now they are a dark brown.

I am finding it more difficult to paint this time, as to see the edge, I need to wear my glasses and they are progressive lenses.  I find I have to hold my neck at weird angles, and as a result of that, I get quite a stiff neck.  Oh the joys of getting older!

It has rained a fair bit this last while, so all the snow is gone in the yard.  But Lulu doesn't like to go out in the rainy, windy weather so she amuses herself indoors.  She spends much of her time in the nesting box thinking she needs to lay an egg but nothing comes of it. 

One day, I decided to give her a warm bath and blow dry to see if that helped.  Fortunately it did because as soon as she was dry, she hopped into her nesting box and laid a shell-less egg.  Lulu does not seem to be able to produce shelled eggs any more, even though I give her a calcium supplement 3 or 4 times a week.  I suppose if I have to regularly bath and blow dry her butt so she doesn't get eggbound, that is what I'll do.  Oh the trials of being a chicken mom!  ;)

Barry is home for a week, so we'll be out in the yard finishing the pruning and such.  It will be a nice break from the painting which I'll finish after he leaves for work again.  And then, by the time that is finished, it will probably be full-time in the yard and garden.  :)


Monday, February 25, 2013

Quick Update

Just a quick note to let you know I may not be blogging twice a week for the next while as I am busy painting the kitchen.  Since the kitchen is in disarray, it is hard to do any new food blogs.

The weather has improved and most of the snow is gone, so Lulu is enjoying the great outdoors.  She goes out for several hours a day except on windy days as she hates the wind.  Lulu spends her time wandering around the yard finding new spots to dig and explore.  I check on her regularly and am surprised at the amount of ground she covers. 

Lulu is NOT an asset when it comes to painting.  I have drop clothes for painting but use newspaper under the paint cans and tray.  Lulu loves to come around and rip the paper and try to eat it.  So on windy days, I either put her downstairs in her dirtbath (which keeps her busy for an hour or two) or put her on her window table in the living room with wheatgrass to keep her occupied.  What a little pest!

Anyway, take care and we'll be back soon.  Joan and Lulu

Thursday, February 21, 2013

David's Pancakes

When my sons were young, they were Cub Scouts.  On many of their camping trips, they were lucky to have David go along as a cook.  David had a boy in the pack and helped out by getting meals ready when the cubs were busy hiking, doing crafts, etc.  He made wonderful pancakes and shared the recipe with us.

These pancakes are thin - almost crepe-like.  We used his recipe at home often but cut it down in size.  My boys loved the pancakes and would eat them cold with peanut butter.

We often made a big batch and froze the extras so my boys could zap them in the microwave on school days when they watched pancakes instead of cereal or toast.

Here is David's recipe if you are cooking for a crowd and my cut down recipe follows.

Ingredients

15 eggs
12 1/2 c flour
4 c sugar
4 tsp salt
2 c oil
20 Tbsp baking powder
5 liters milk

for a smaller batch - about 1 1/2 dozen 7" pancakes
2 eggs
2 1/2 c flour
1/2 c sugar
1/2 tsp salt
1/3 c oil
3 Tbsp baking powder
1 liter milk


Mix up the batter and let rest for a few minutes.  It also can be made ahead and used later.

Ladle or pour batter into a pre-heated greased fry pan.  I used a 1/3 cup ladle and made one in the pan but you can make smaller ones if you want.  When bubbles form on the one side, turn pancake.

 
 Cook second side until done.
 
 
Stack pancakes on a plate and keep warm until all are cooked. 
 
 
Eat with butter and syrup or jam.  Enjoy!


The pancakes freeze very well.  I put enough for a serving between wax paper and stack in an ice cream pail to freeze or in freezer bags.  If you use freezer bags, make sure the pancakes are frozen solid before setting anything on top of them.  This way you can take out a serving whenever you want to heat them up. 


Wednesday, February 20, 2013

Sourdough Sharing - Flatbreads

This month's sourdough challenge at Sourdough Surprises was flatbread.  I decided to give both tortillas and naan a try.

Whole Wheat Sourdough Tortillas
My starting point was these two recipes - here and here .

Ingredients
4 c flour (I used all whole wheat)
1 c milk
1 c sourdough
1/2 tsp salt

Mix together sourdough, milk and salt.

 
Slowly add in flour mixing until the dough forms a ball and is not too sticky.  Then knead the dough for 2 - 3 minutes.
 

Transfer to a well-greased bowl, grease top of dough, cover and let sit overnight.


My dough had a bit of a crust on it the next day but nothing too bad.

 
Divide the dough into balls and heat up a cast iron or non-stick fry pan.
  
 
Use olive oil to grease rolling pin and rolling surface.  Roll dough balls flat and thin. 

 
Place your tortilla into pre-heated pan and cook briefly on both sides. 

 
It took less than a minute per tortilla.  I turned the pan down to medium to medium low because the cast iron holds the heat and I didn't want my tortillas to burn. 

 
The recipe makes between 1 1/2 dozen to 2 dozen depending on the size.


These were very good.  I ate some warm and froze the rest for later.  Next time I make them, I will try to make them a bit larger and rounder so I can use them for quesadillas.


Sourdough Naan
My starting point was here and here .

Ingredients
1 c sourdough
1/2 c warm milk
1/4 c Greek yogurt
1 tsp baking powder
1/2 tsp salt
2 c flour (I used all whole wheat)
1 tsp oregano
1 tsp thyme


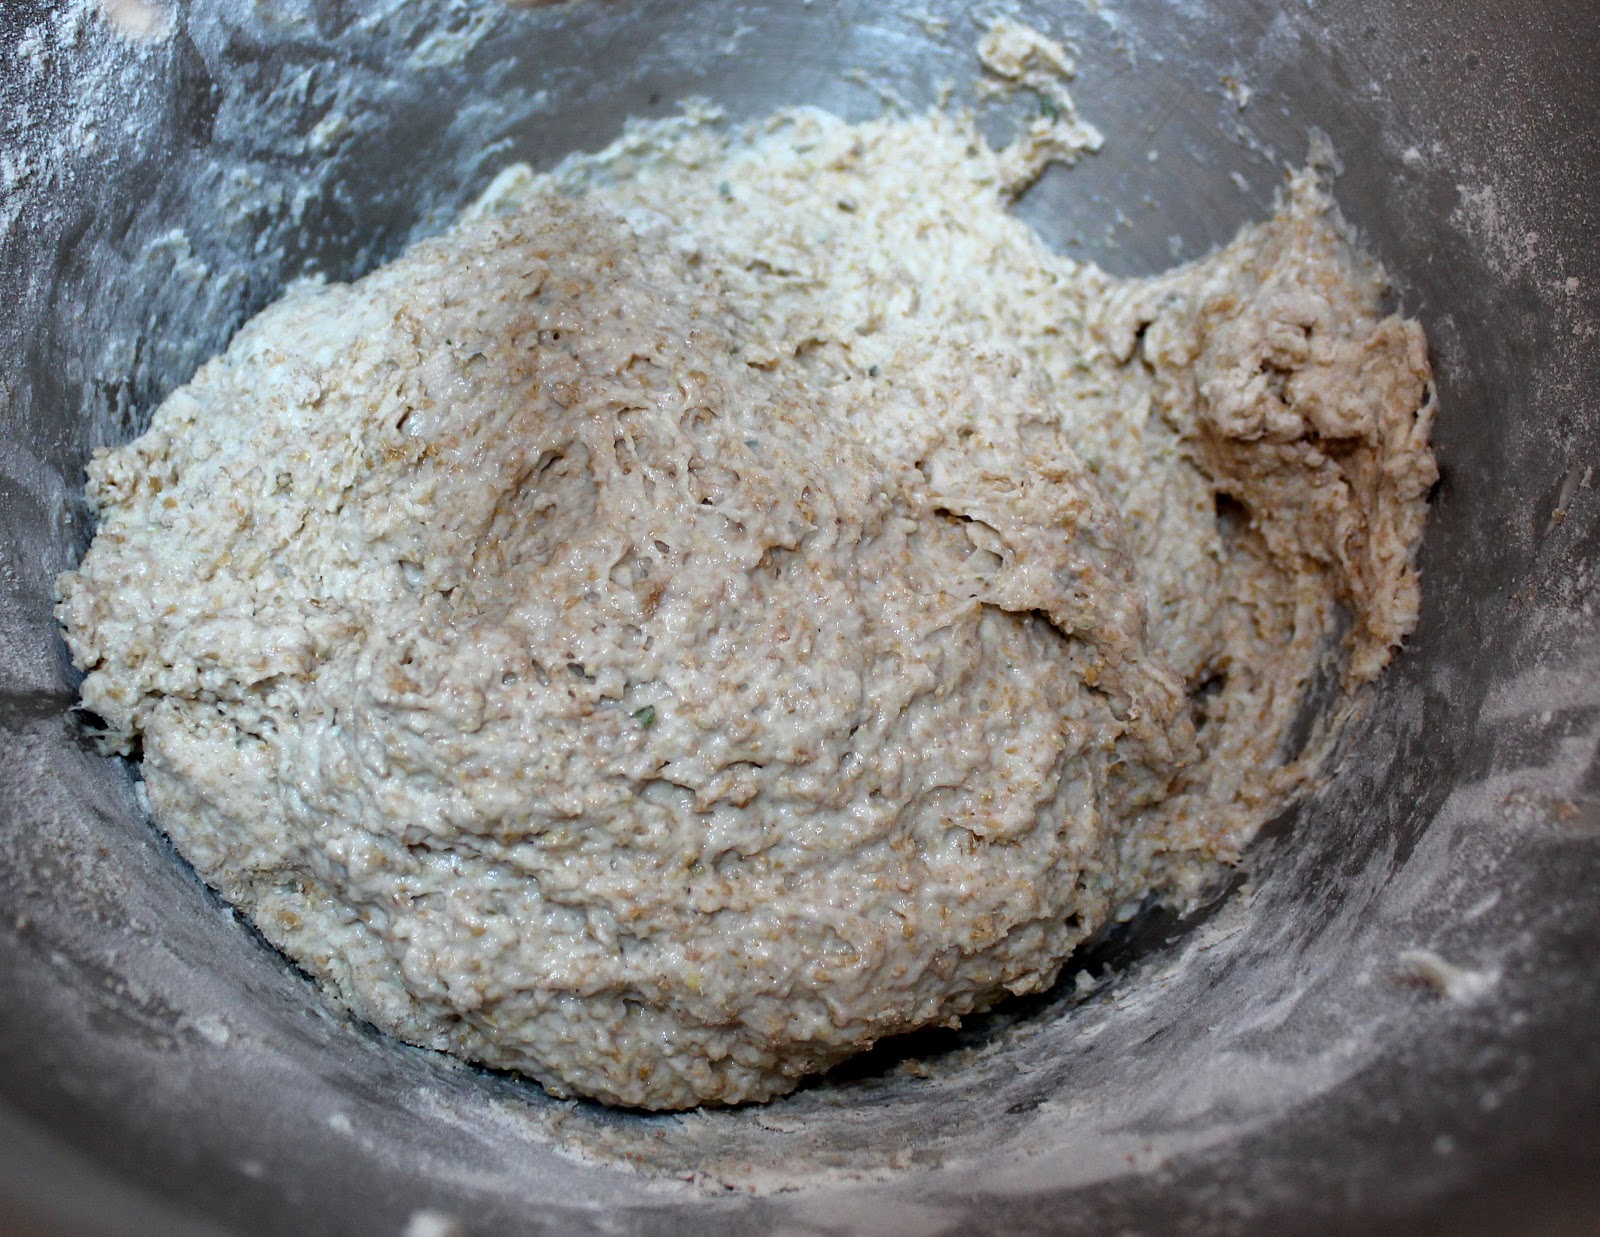
Mix sourdough, milk, and yogurt.  Add dry ingredients and mix together, adding more flour if dough is too sticky.

 
 Knead a couple of minutes.

 
Turn onto floured board and knead several times until dough is smooth.  Place in a greased bowl and let rest several hours. 

 
Divide dough into 8 pieces and heat up fry pan.  Again I started at medium high and then turned down the heat.

 
Roll dough on floured board.  I found the dough a bit stickier than the tortilla dough and a bit harder to manage.

 
Cook each side until done.  It smelled very nice cooking with the herbs in the dough.


The naan took a little longer to cook than the tortillas because the dough was a bit thicker.  I also found it harder to keep the naan round.

 
The naan were good but my preference is the tortillas - partly because they were less trouble and partly because I have eaten more tortillas in the past than naan. 

 
Enjoy both recipes as well as the links to other flatbreads below.  ;)