Showing posts with label fruit. Show all posts

Monday, July 15, 2013

New Plants in the Garden

Several of the blueberries we planted last year are bearing fruit and some of the berries are ready to eat.  Last year we planted 8 blueberries and 4 of them have fruit this year.


We have 3 Saskatoon bushes that produced while we were gone so we missed out on those berries.  :(   I tried to give Lulu the dried berries to eat but she turned her beak up at them - she wanted fresh blueberries instead.  Fussy girl!


While we were away I purchased 2 more Saskatoon bushes  - a Thiessen and a Smokey.


I also bought 2 haskaps - a Tundra and a Polar Jewel.  Haskaps are also known as Honeyberries.  They are edible blue honeysuckles that are very cold hardy.  They are supposed to taste blueberry-ish with undertones of currents or raspberries.  I can't wait.


I also bought a Bailey Cranberry bush.  I already had a lingonberry was started from a shoot brought to Canada from Norway by Barry's grandmother in the late 1940's.  I plan on using these 2 bushes to make jelly to use with roast turkey, whenever I get enough berries.  The lingonberry had some berries last year but I transplanted it this year to its final resting place and it did not produce any this year.


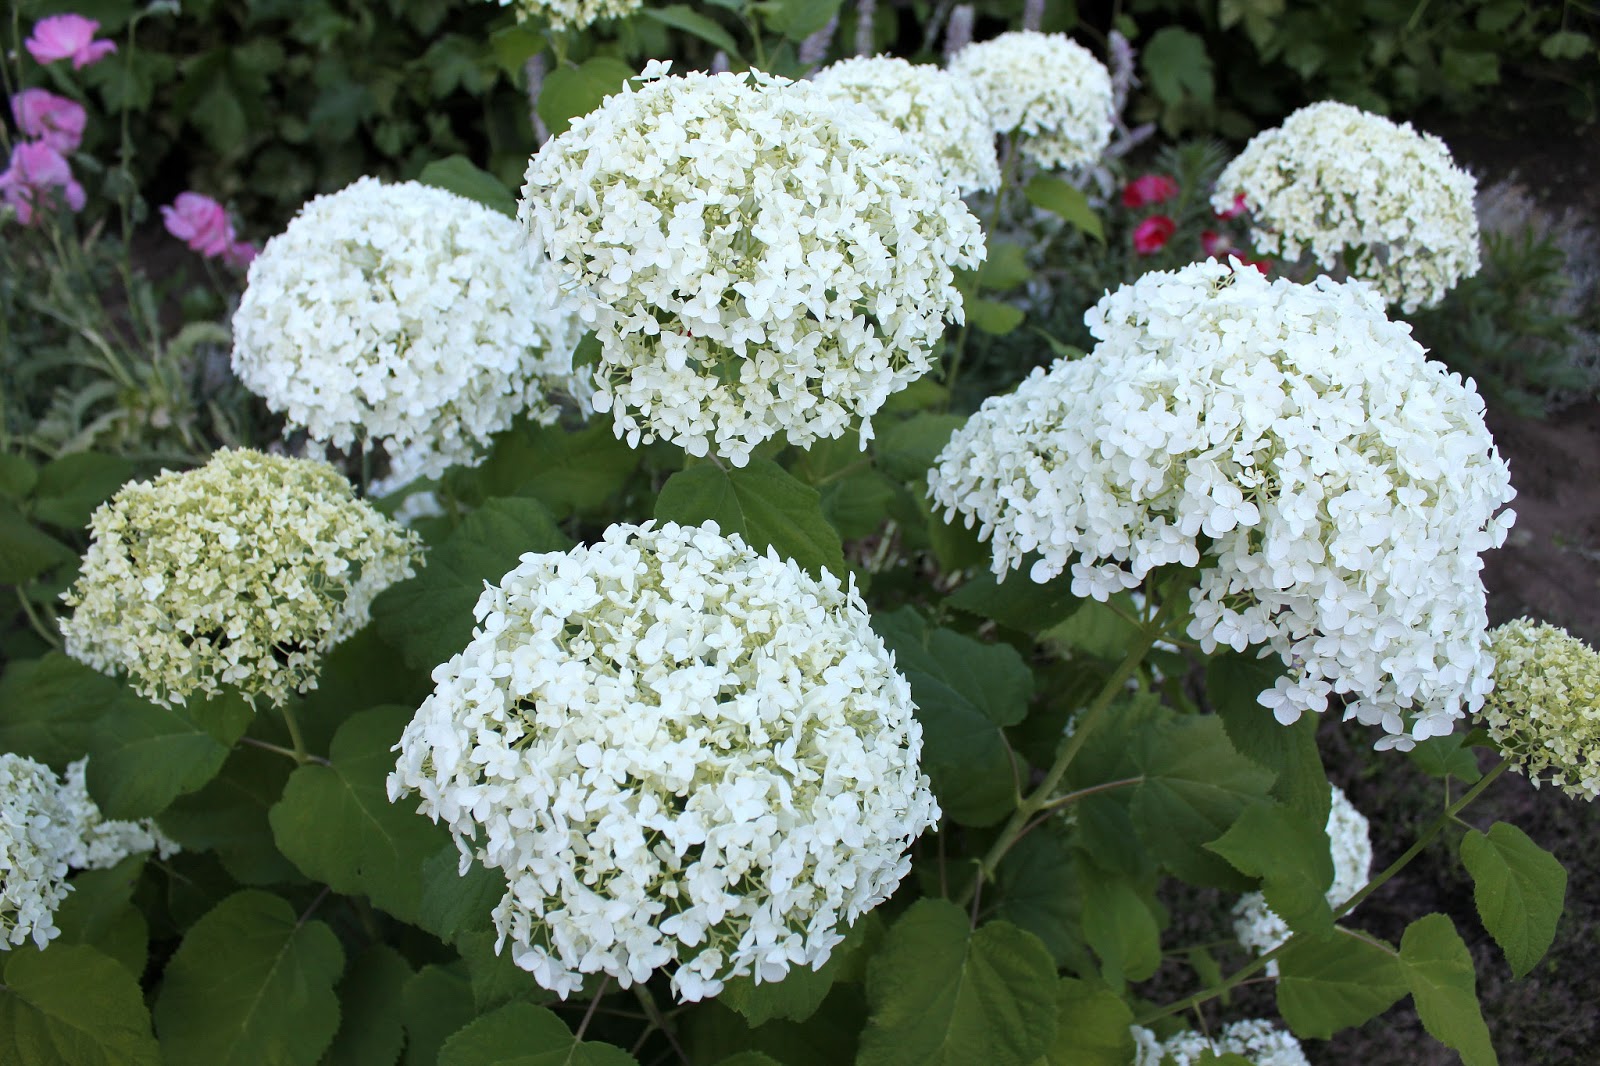
Last year I also got some perennials from a friend cleaning out her perennial bed.  These hydrangeas bloomed last year but not as prolific as this year.


Not as large as this year either.  Look at the size of these blooms compared to my hand!  ;)


Monday, November 12, 2012

Blackberry Peach Muffins

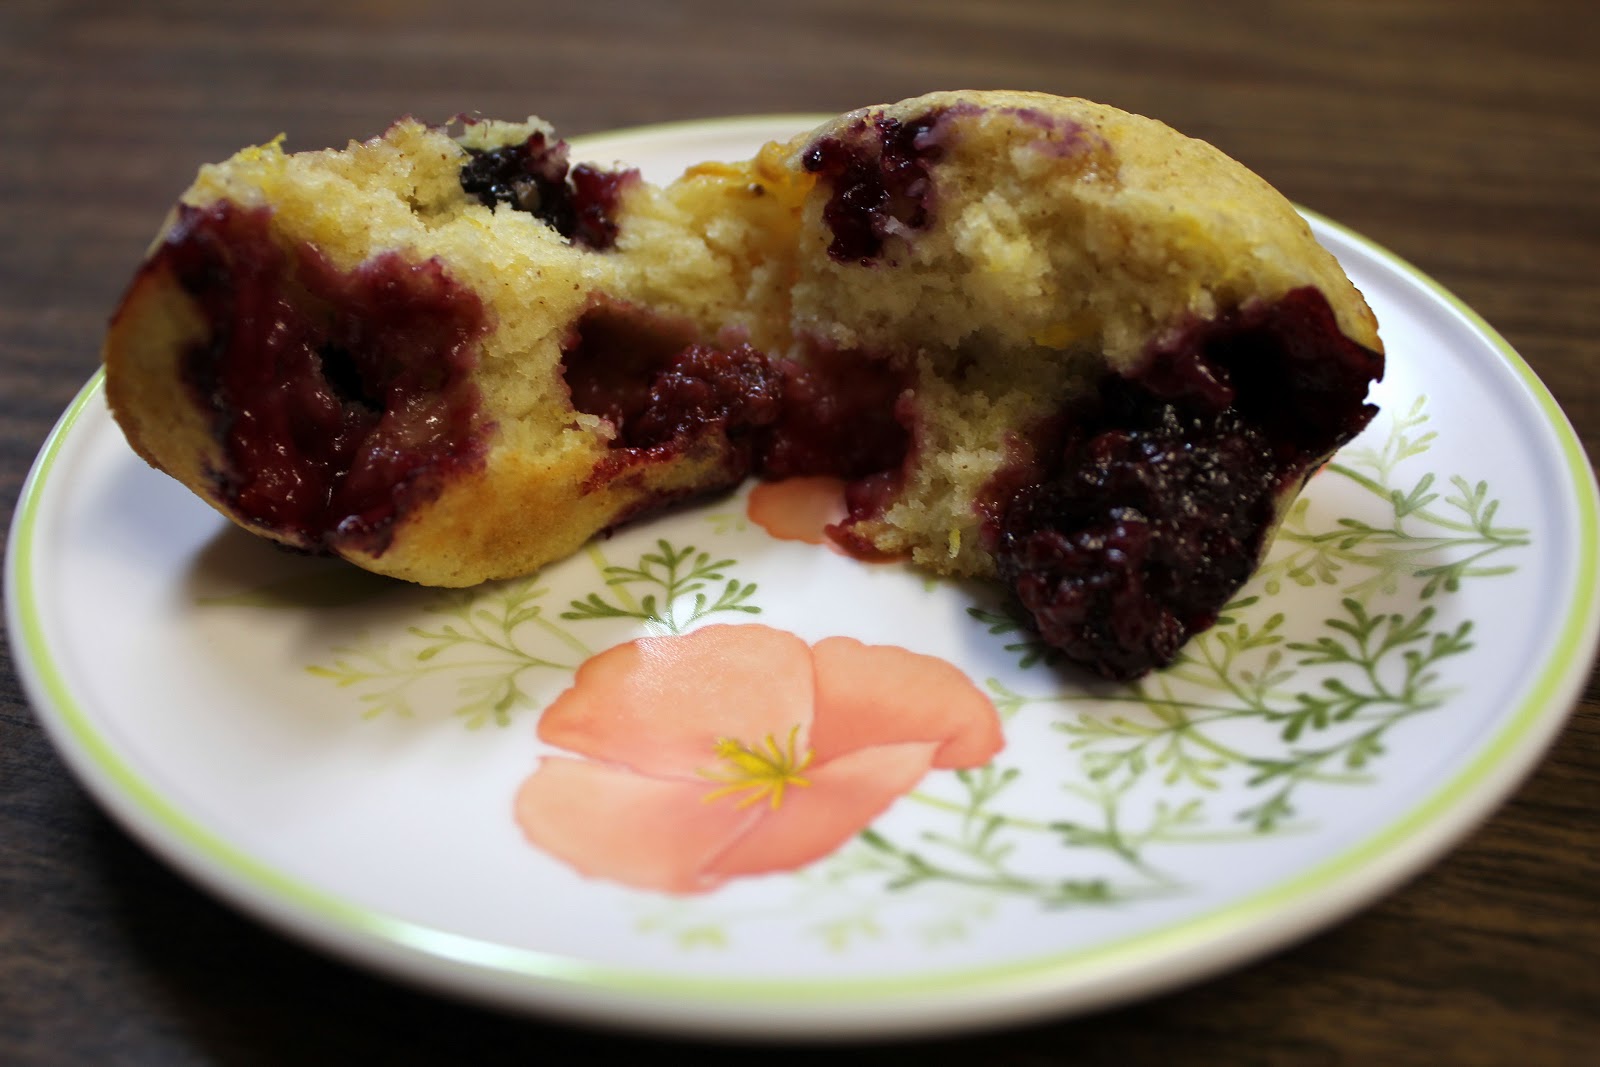
I found a recipe for Blackberry Peach Muffins  and wanted to try it ever since we had fresh peaches, blackberries and cream for dessert this summer.  Peaches and blackberries taste awesome together!

I didn't get the muffins made while I had fresh fruit available but decided to try them with fruit I froze this summer.  I had read on the internet that you can freeze peaches whole - just pick ripe, unblemished ones and pop them in freezer bags.  To use, take them out and when they are still frozen but a bit soft, place them  under running water and you can peel them very easily.  I have been eating some of the peaches, semi-frozen and they are very nice.  The texture isn't the same as raw but they are not mush either.

After I read the recipe in the blog, I found the original blogger made several goofs.  She mentioned adding egg but didn't have it in the list of ingredients.  So I checked out her original recipe (Apple Blackberry Muffins) and the current one and tried to correct the ingredients.

Ingredients
1 c peaches, peeled and cut into chunks (about 1 to 2 peaches)
1 c blackberries
1/2 c sugar
1/2 tsp cinnamon
2 c flour (I needed almost 2 1/4 c) (I would try 1 3/4 c next time)
2 1/2 tsp baking powder
1 egg
1 c milk (I would try 1/2 c next time)
1/3 c oil  (I would try 1/4 c next time)

 
Peel and chop peaches.
 
 
Add blackberries.  The original recipe said to mix sugar, cinnamon and fruit together.  I did but wouldn't do it that way again.  I found that the peaches got too mushy - maybe because they were originally frozen not fresh.  Next time, I would mix all the dry ingredients together and stir in the fruit.

 
Mix rest of dry ingredients with the fruit.

 
Stir together egg, milk and oil.  Add to rest of ingredients and mix only until combined.  The less you stir muffins the better they are.  If you mix them too much, they become tough.  I had to add almost 1/4 cup more flour to the recipe.  Next time, I would add less milk instead. 

 
The original recipe said to fill 12 greased muffin tins 2/3 full.  I had enough extra batter to fill 2 small Pyrex bowls as well. 

 
Cook at 375°F for 25-30 minutes.  The muffins were tasty but you couldn't see many peach chunks.  I would cut the peaches larger next time and mix them with the dry ingredients instead of the sugar.  I would also add less milk so not to toughen the muffins by the addition of the extra flour.


Thursday, October 25, 2012

Making Raisins


The grapes were plentiful this year.  Our earliest grapes are seedless green grapes that are very sweet.  I'm not sure what variety they are but one neighbour said she thinks they are Himrod.

 
The grapes are a nice size and sweeter than any grape I've ever bought at a grocery store.

 
There were too many to eat and since they are seedless, I thought they'd be a perfect grape to use for making raisins.

 
I picked, washed and sorted the grapes.  I made sure they were well drained so as not to add to the drying time. 
 
 
The one complaint I have about this type of grape is the stem often comes off with the grape.  These all have to be removed or else you have little dry sticks on your grapes.    

 
I filled my dehydrator trays without piling the grapes on top of one another. 

 
Here are the raisins dry and ready to be bagged.  I find drying times vary from batch to batch depending on the outside temperature and humidity level. 

 
Now I'll have fresh homemade raisins for eating and baking all winter.  ;) 


Monday, October 1, 2012

Cherry Berry Jam

Last year I checked out many different jam recipes.  I liked the idea of a mixture of fruit.  I didn't find one for exactly what I wanted, so I made one up.

Here is my recipe for Cherry Berry Jam

Ingredients

12 c cherries
4 c raspberries
4 c blackberries
4 Granny Smith apples
1/2 c lemon juice
1 c homemade pectin
10 c sugar

I use frozen fruit because these three do not ripen at the same time.  I bring out the needed fruit a day or two ahead and thaw it in the fridge before making the jam.  I use pitted cherries and squish them as I put them into the pot.  It serves two purposes - to check for missed pits and to make it easier for the cherries to break up during the jam process.  The first time I made cherry jam I didn't do this and had to try to squash the cherries with a potato masher part way through cooking.  It is easier to squish them before cooking than mash them while they are steaming hot.

 
The blackberries are a thornless variety that grow in our yard.  I don't know if we have two varieties but some of the berries grow much larger than the rest.  The small ones are also harder to pick as they don't release from the stem as easily as the larger ones. 

 
The raspberries here seem to have a better crop in late summer.  They do produce in the spring but the berries are small and dry out quickly.  In the latter part of August and on into September and even October - we have big, juicy berries. 

 
I peel, core and chopped the apples.  The apples not only add natural pectin but give little appley bits to add texture to the jam.  Some apples mush-up quite readily when you cook them, but grannies seem to hold their shape better. 

 
Mix all ingredients except the sugar in a large pot and cook until fruit in soft and breaking apart.  Add sugar and continue boiling and stirring until it reaches the jam stage.  (either 220°F on a candy thermometer or the cold saucer test)

 
Pour into sterilized jars and process for 10 minutes in hot water bath.  The recipe makes 10 - 11 pints.  Enjoy!  ;)


Thursday, September 27, 2012

Pitting Cherries

Cherries are pitted much earlier in the year but since I'm posting a cherry jam next time, I decided to talk about pitting cherries.

This was my first cherry pitter.  Very slow and messy.  One at a time and juice splatters everywhere.  I borrowed a larger one that had a reservoir to catch the pits but it still only pitted them one at a time.  It was not as messy but my hand got sore from pushing down the plunger so many times.

 
I decided to splurge and get a multi-cherry pitter since I have four cherry trees and they produce many pounds of cherries. 

 
I freeze some of the cherries with pits just to eat as fruit during the winter.   I pit the ones I am going to use for jam, desserts, smoothies, and baking.

 
As you can see, it pits five cherries at once.  You fill the hopper with cherries and give them a nudge into the holes.

  
You pull the lever and voila five done in an instant.

 
As you can see the pitter comes down and pushes the pit through the cherry into a container.


You can see the sharp teeth that push out the pits.


The cherry stays on the pitter to fall off into another container.


Here are the cherries - ready to be bagged and frozen.  I usually make my cherry jams in the early fall when things have slowed down in the garden.  July is too busy and often much too hot to be making jam.
 
 
Here is the pile of pits.  This pitter is quick and not too messy.  It isn't 100% perfect so you do have to check for missed pits.  This happened with the other pitters as well.  Sometimes the pitter slides alongside the pit and leaves it in the cherry.  But this is minor to getting the pitting done quickly.  I do a quick check when bagging the cherries and again when I thaw them out to use to remove any missed pits. 

 
All in all, I'm happy with my cherry pitter.  It makes cherry pitting much simpler.
 

Thursday, September 13, 2012

Spiced Plum Chutney

I was looking into making some spicy plum chutney for a friend.  I found these three recipes that looked interesting so I took what I liked and made up a recipe of my own.

http://localfoods.about.com/od/summer/r/PlumChutney.htm
http://www.food.com/recipe/plum-chutney-40244
http://www.food.com/recipe/spiced-plum-chutney-193167

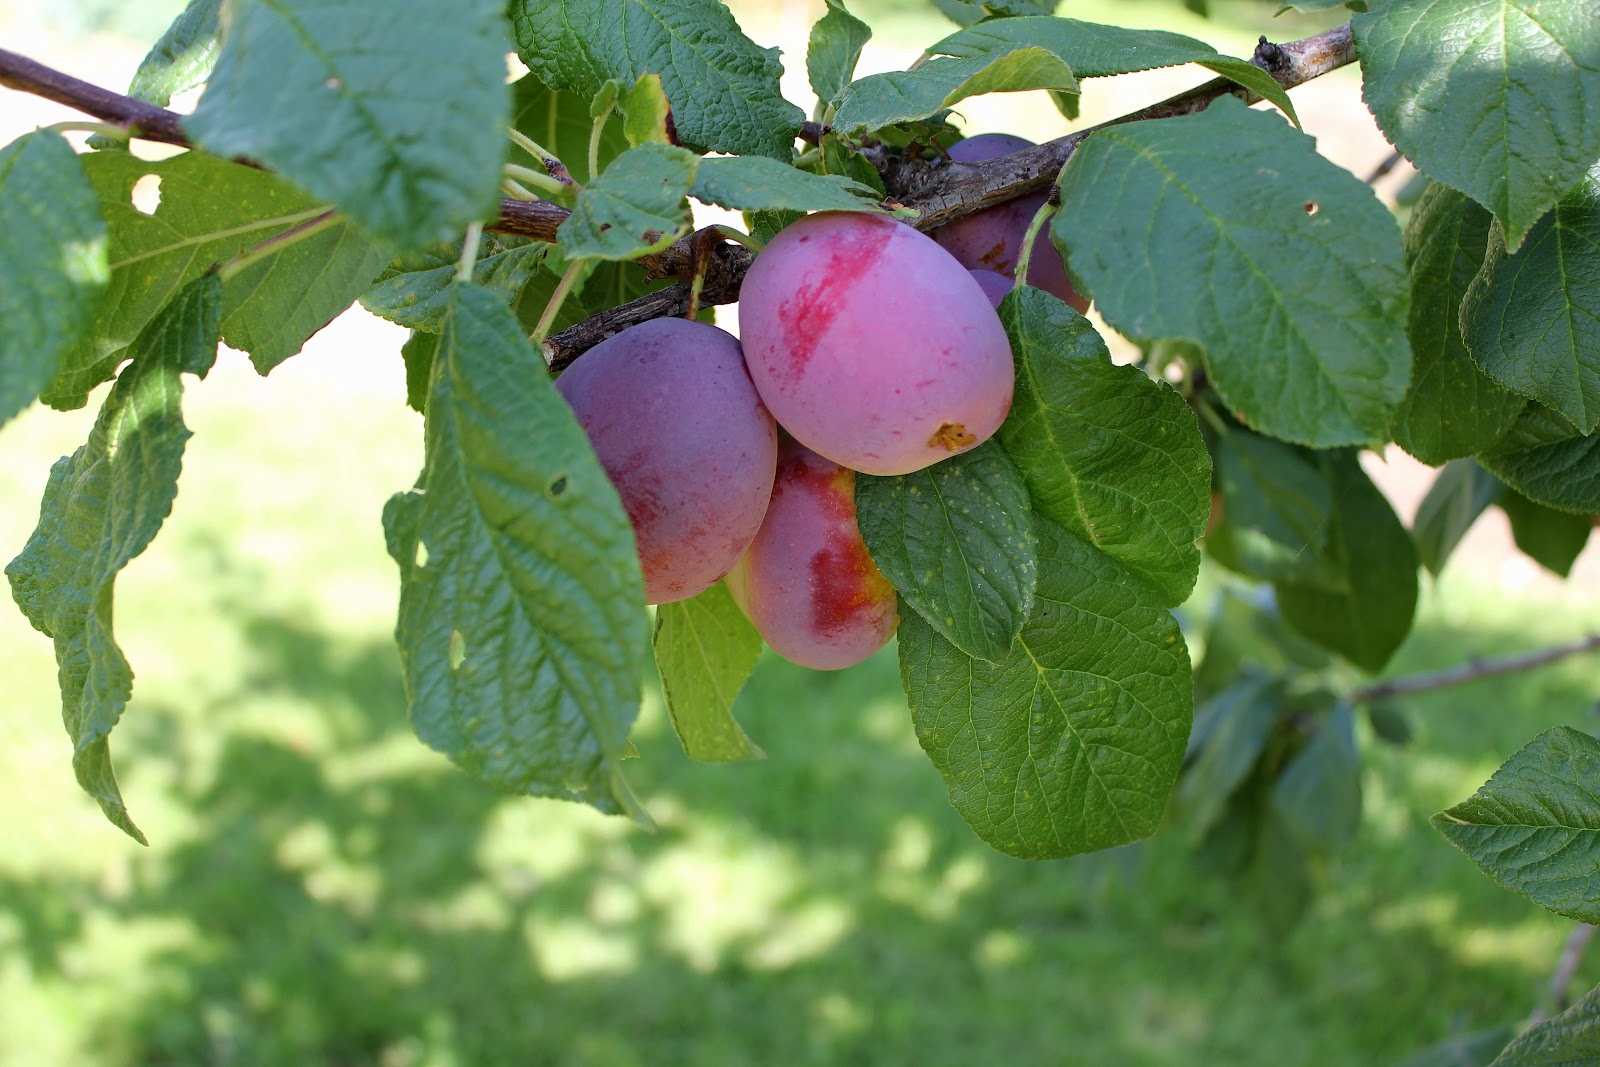
I decided to use both my Italian plums and prune plums.

Italian plums are larger and have a more yellow coloured flesh than the prune plums.


Prune plums can be eaten quite green (my dad likes them this way) or you can wait until they are softer and the flesh is a little yellower.  They are usually the last plums ready but this year, one of the trees was ripe early so I used them in the chutney.


Ingredients

10 c plums - cut into pieces (I used prune plums and Italian plums)
4 apples - cored, peeled and chopped - (about 2 c)
1 onion, chopped
2 large cloves garlic, minced
1 c golden raisins
2 c sugar
1 1/2 c vinegar
2 tsp salt
2 Tbsp mustard seed
1 tsp curry powder
1 tsp ground ginger
1 tsp cinnamon
1/2 tsp ground cloves
1/2 tsp cayenne pepper
1/2 tsp red pepper flakes


Wash and pit plums.

 
Cut into pieces.  I ended up using 5 cups of Italian Plums.
 
 
Do the same with the prune plums. 

 
I again used 5 cups of cut-up prune plums. 

 
Peel, core and chop apples.  Chop onion and mince garlic.  Add raisins and rest of ingredients.  Bring to a boil, then reduce heat.  Stir often and let mixture cook and thicken.  It takes around an hour for this to happen.

 
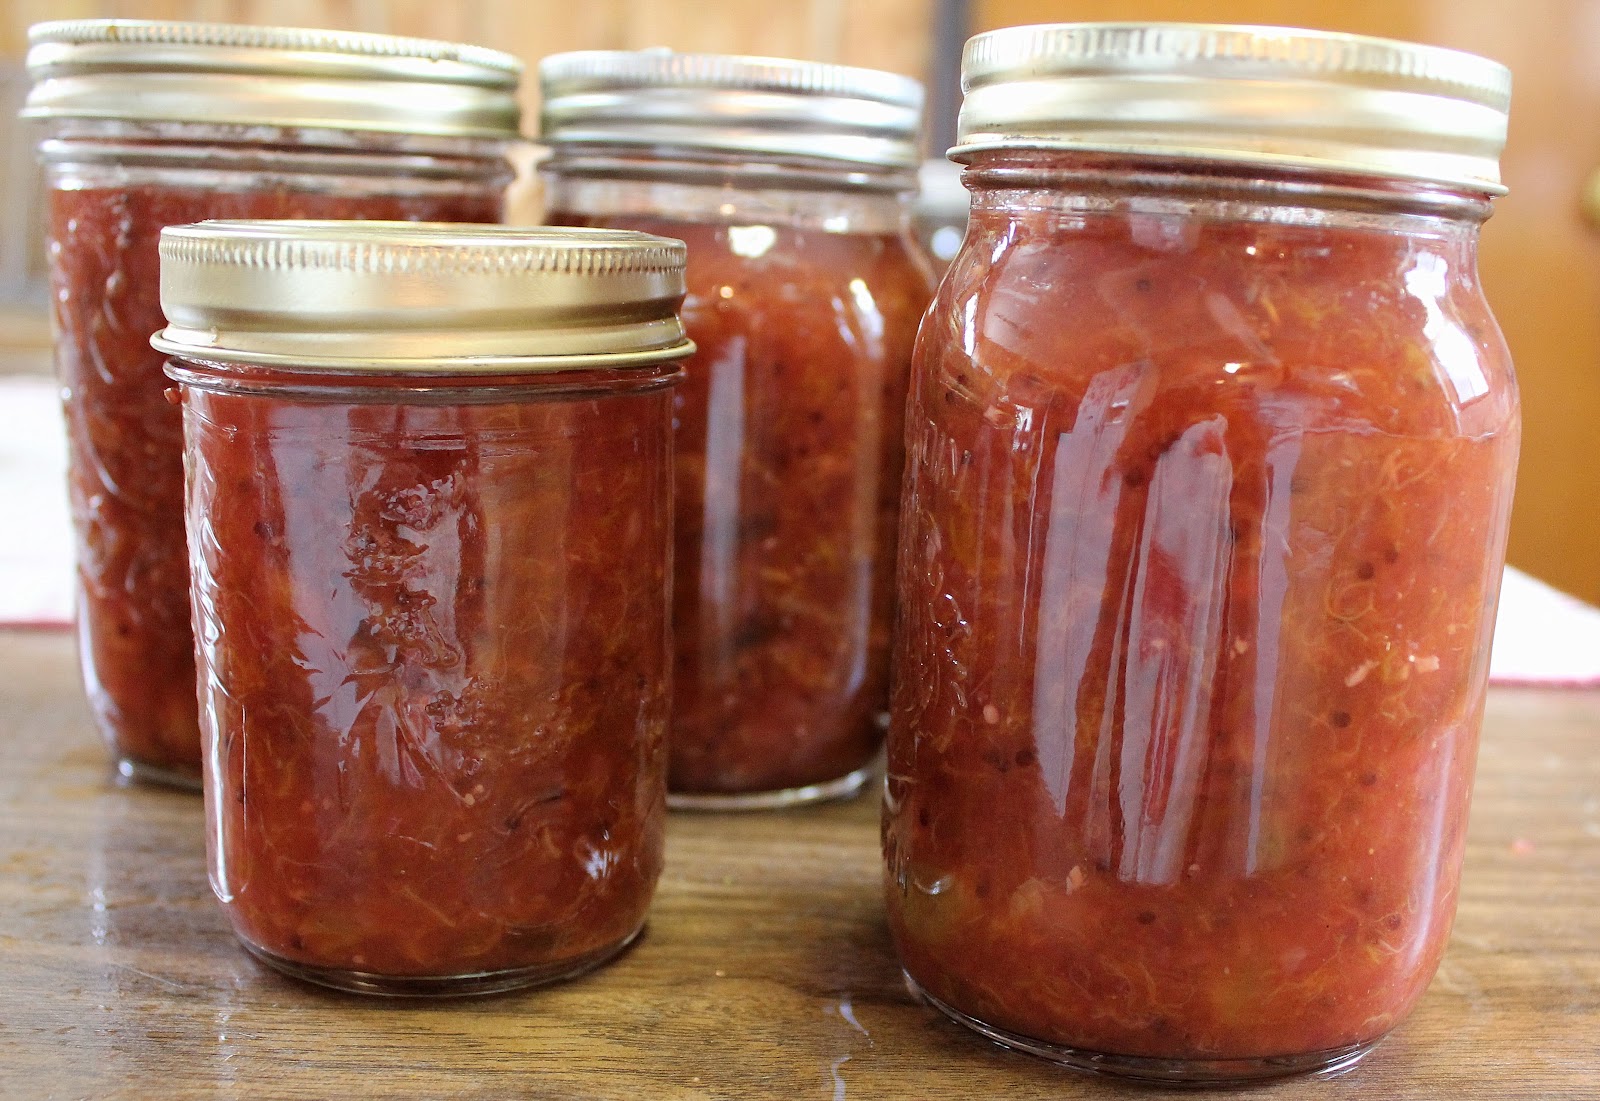
Fill sterilized jars and process in a hot water bath for 10 minutes.  This recipe made 5 pints and 1 half pint.  You should allow chutney to sit for 4 to 6 weeks before eating it so the flavours can meld. 


Thursday, August 30, 2012

Peach and Yellow Plum Chutney

We have an over-abundance of peaches this year.  We have 5 1/2 peach trees (one tree is almost dead) and we have peaches coming out the ying-yang.  The first year we were here, we got a grand total of 7 peaches.  Yes 7 peaches from 6 trees!  It got cool that spring when the peach trees were blooming and the flowers didn't set.

This spring we had lots of fruit so I started thinning the peach and apple trees.  You are to thin so the fruit doesn't touch when it is full grown.  I thinned out a lot of fruit but didn't get all the trees finished.  The tree below got missed.  There were tons of fruit and they were quite a bit smaller than on the trees I thinned.


 This tree was thinned - you can see most fruit are not touching each other.


 This is a later tree because although the peaches are quite red, they still are very hard.


We also have 2 yellow plum trees and the plums are just clumped together.  I was told that you don't have to thin plums as they self-thin and drop excess fruit.  WRONG!  Look at these plums.


Anyway, back to the chutney.  A friend asked me to make some chutney for her and upon doing some research, I found so many interesting recipes to choose from.  I got this one from my cookbook 250 Home Preserving Favorites by Yvonne Tremblay.  It looked tasty plus it used peaches and yellow plums.
 
 
Ingredients
 
4 c plums - chopped
3 c peaches - peeled and chopped
2 1/2 c sugar (the recipe asked for brown sugar but I read that the chutney would be a darker colour with it.  I decided to go with white sugar to help keep the lovely colours of the fruit)
1 c  diced yellow or red pepper (I used red for a contrasting colour)
1 c chopped onion
1 large clove garlic, minced
1 green or red hot chili pepper, minced or 1 tsp hot pepper flakes (I used red pepper flakes)
2/3 c vinegar
2 Tbsp grated ginger root
1 Tbsp grated lemon rind
2 tsp salt
1 tsp cinnamon
1 tsp ground cloves
1 tsp mustard seed
1/2 tsp ground coriander
1/2 tsp turmeric
 
 
 Peel and chop peaches. 


Chop and pit plums.  Leave the peel on as it breaks down in cooking.  It also adds pectin to aid with the thickening of the chutney.

 
Mince garlic, chop onion and dice pepper.  Add to fruit in a large heavy-bottomed pot. 

 
 Grate lemon ring and ginger root.  Add to rest.

 
Add sugar, spices and vinegar to rest of ingredients.  Isn't it a lovely colour?  Stir often while bringing to a boil.  Reduce heat to a gentle boil.  Stir often while mixture cooks and thickens.  (about 45 - 60 minutes)  Ladle into sterilized jars and process for 10 minutes in a hot water bath.


The recipe is for 5 half-pints but I got 3 pints and 2 half-pints. (I used a bit more fruit and didn't measure the pepper or onion)  You are to store for at least a month so the flavours can meld.  It turned out to be a lovely colour and had a yummy aroma while cooking.  Enjoy!  ;)